How to make creamy yogurt is a common question when you are starting to make your own yogurt and it can be achieved in any number of ways (For several other methods of making thick yogurt read this article) but one of the easiest methods is to use a thick creamy milk from the start. Using heavy cream to make yogurt produces a very thick, sweet yogurt which is great for desserts, dips and shakes.
To make yogurt from heavy cream heat the cream to 180℉(82℃) for 20 minutes, cool to 110℉(43℃) and add the starter. Place in a warm place which can maintain a temperature between 108℉(42℃) and 115℉(48℃) for 6-12 hours. Move yogurt to the fridge for at least two hours.
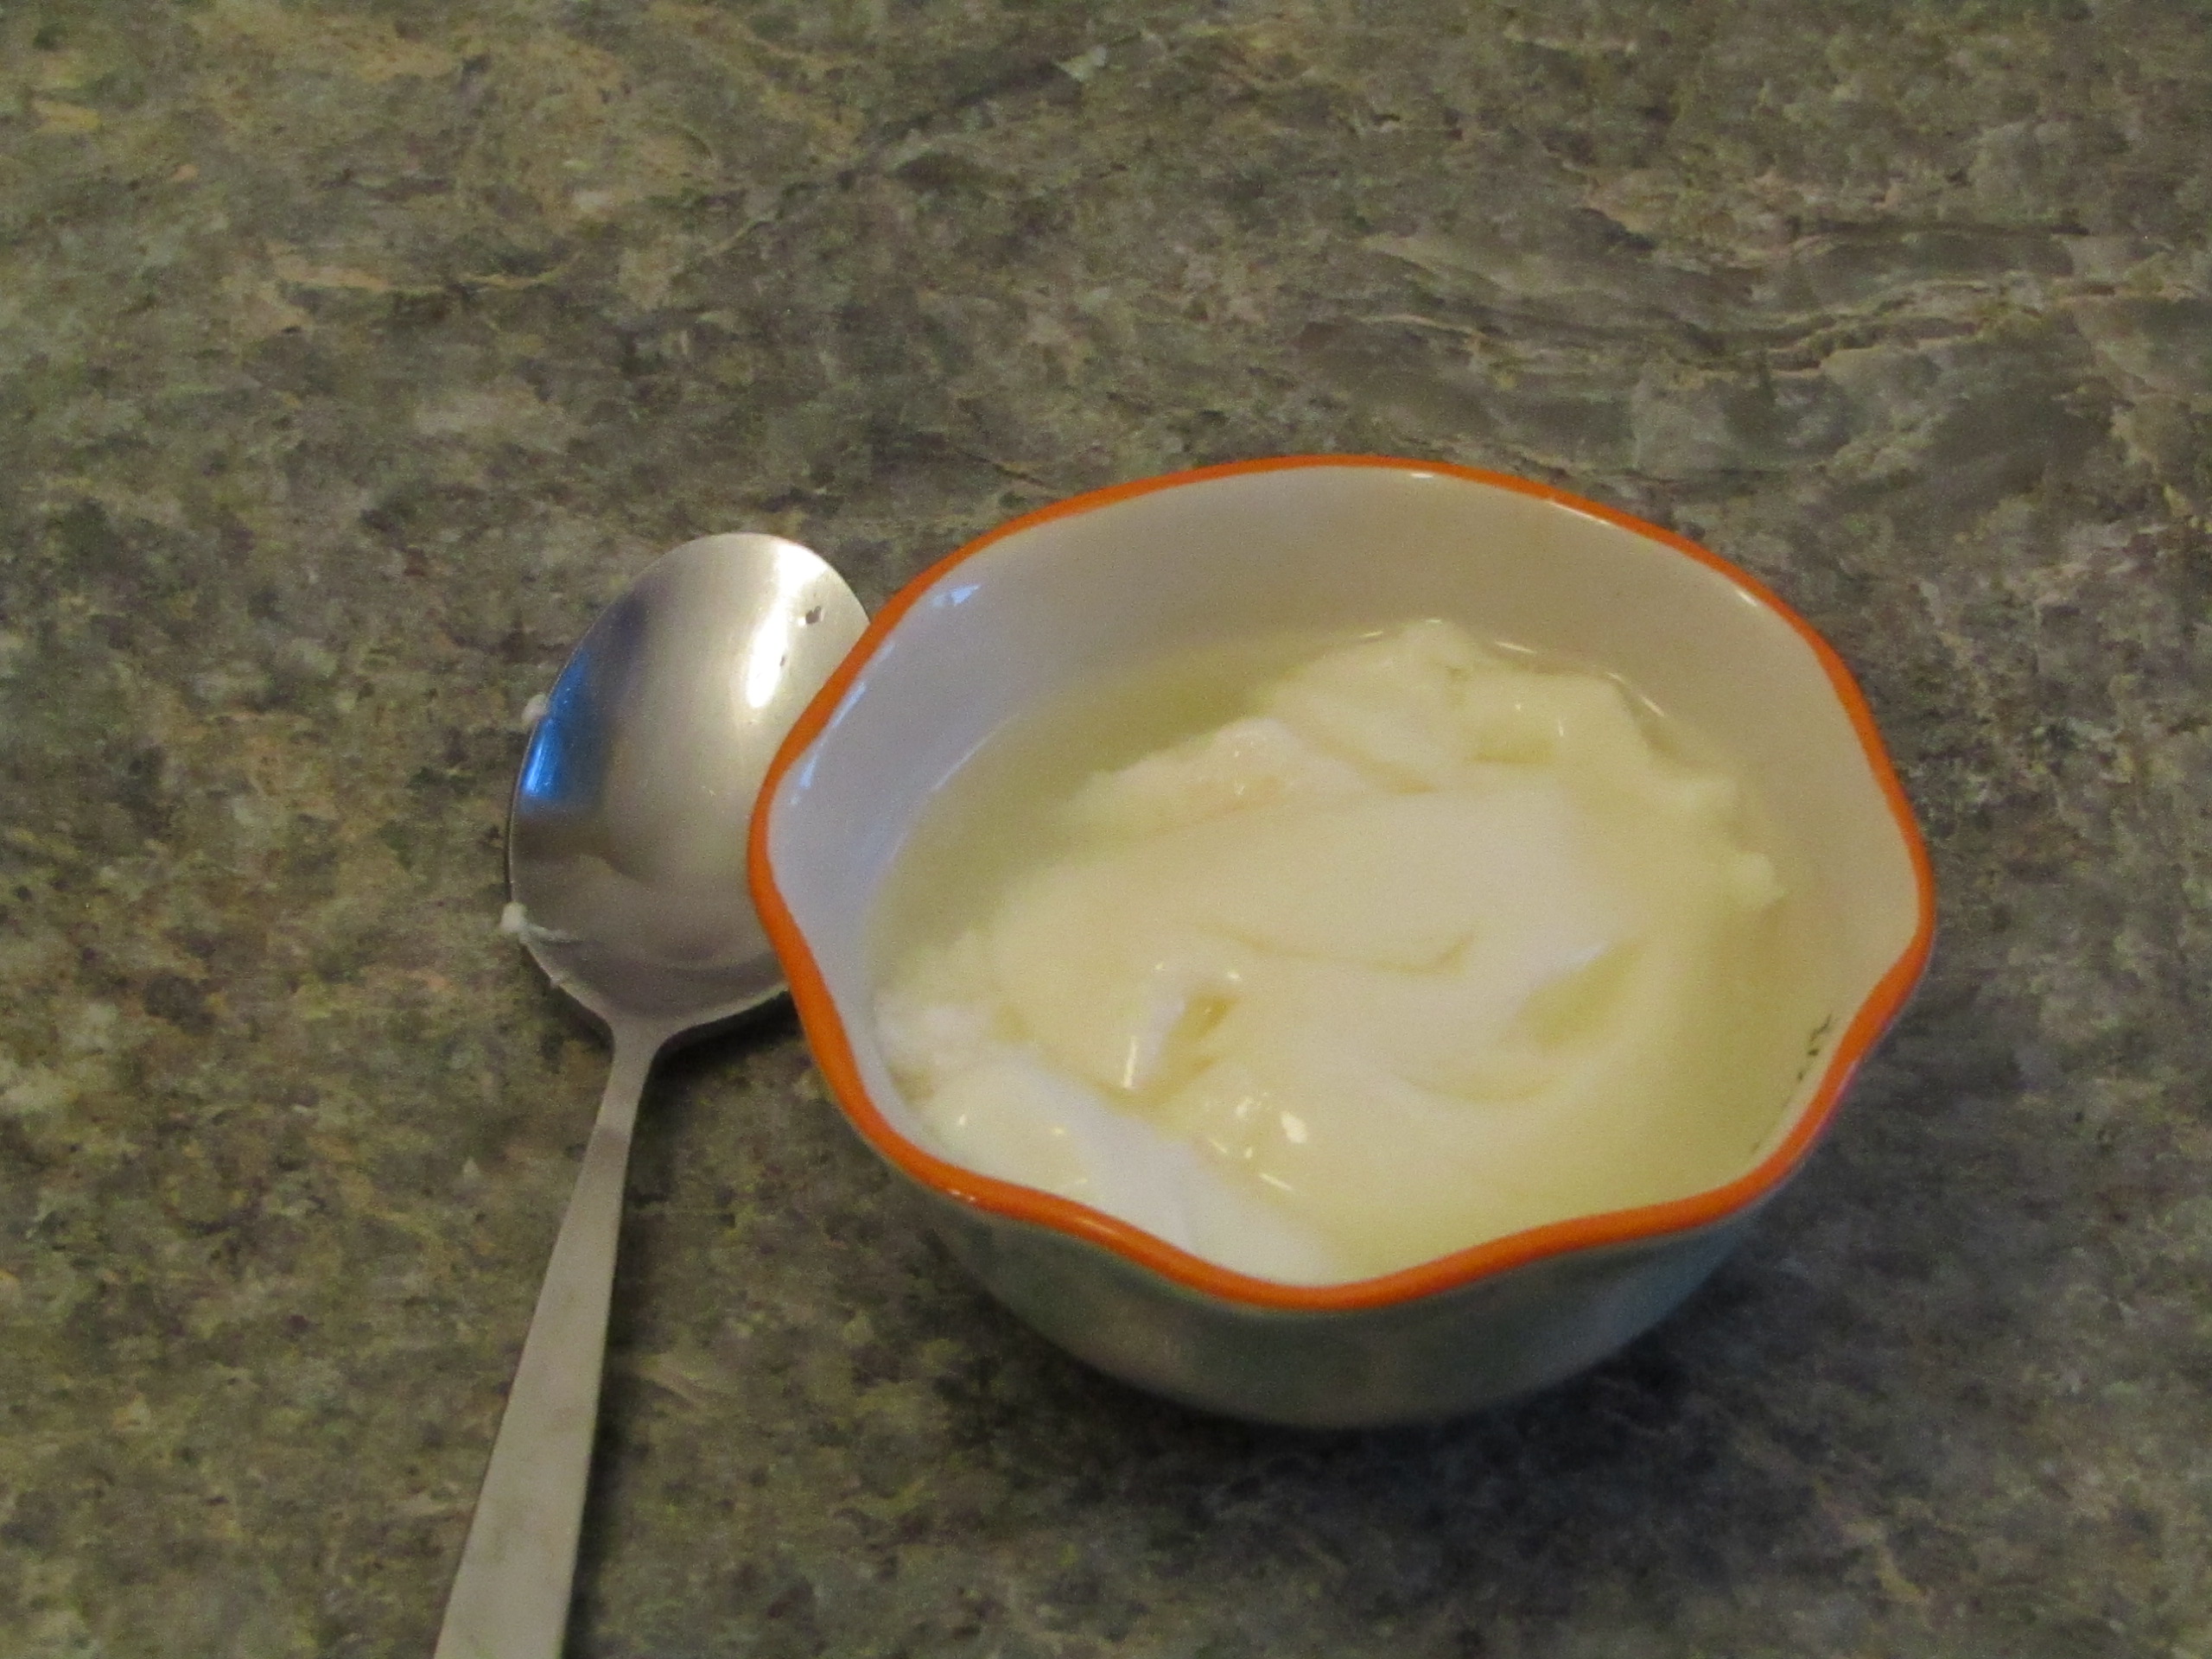
Yogurt made this way will produce a very thick and creamy yogurt which is great for making several recipes from creamy desserts to tangy dips and gravies. It especially makes excellent thick shakes and smoothies. There is a sample of possibilities below.
Step by Step Instructions to Make Yogurt with Heavy Cream
If you have made homemade yogurt before you will recognize these steps as they do not change from making normal yogurt. Read through all the instructions before you start and you will have no problems.
Equipment Needed:
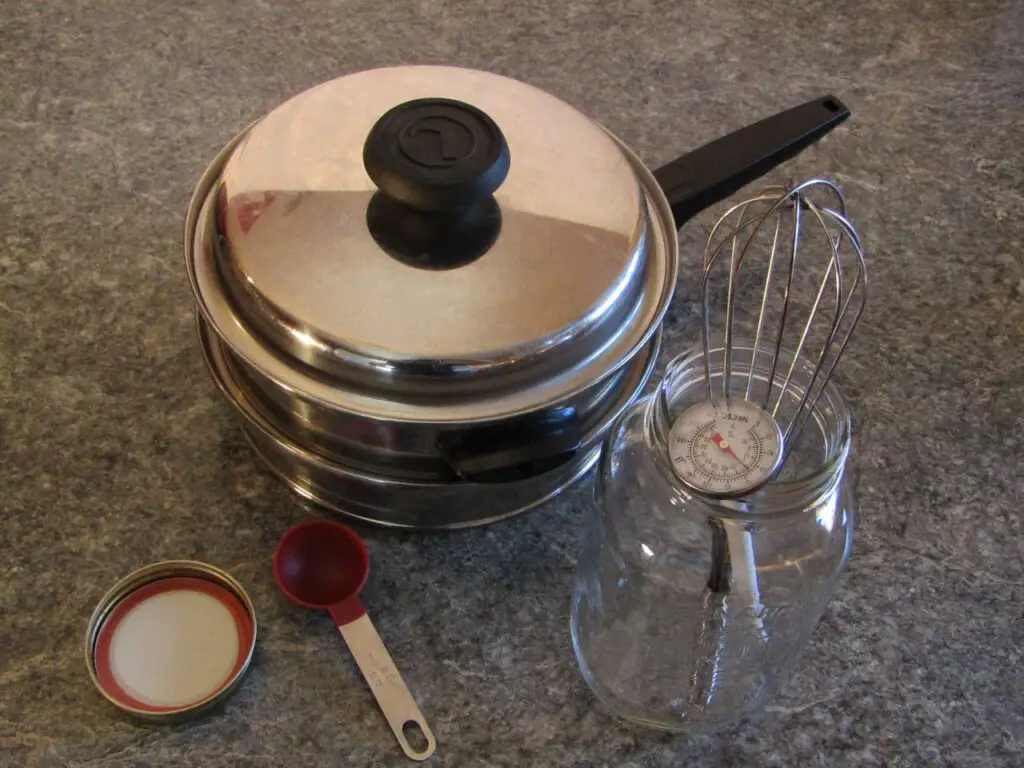
- Double boiler or some other way to indirectly heat the milk
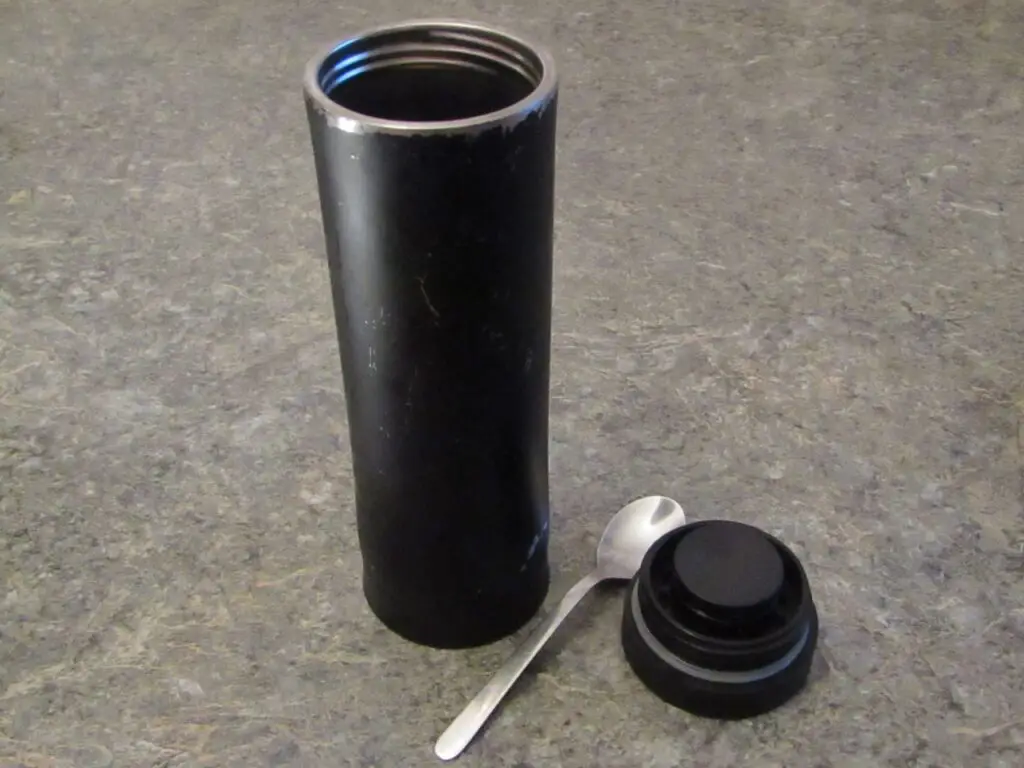
- Mason jar or some other heat safe container
- Thermometer
- Measuring spoon
- Whisk
Ingredients:
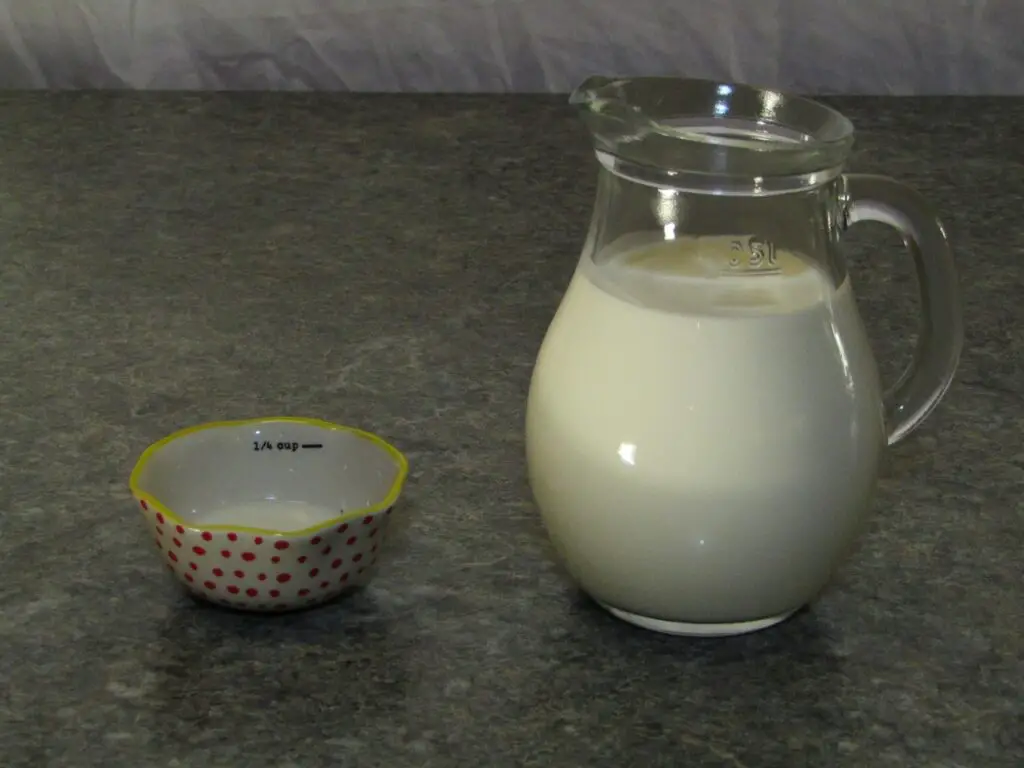
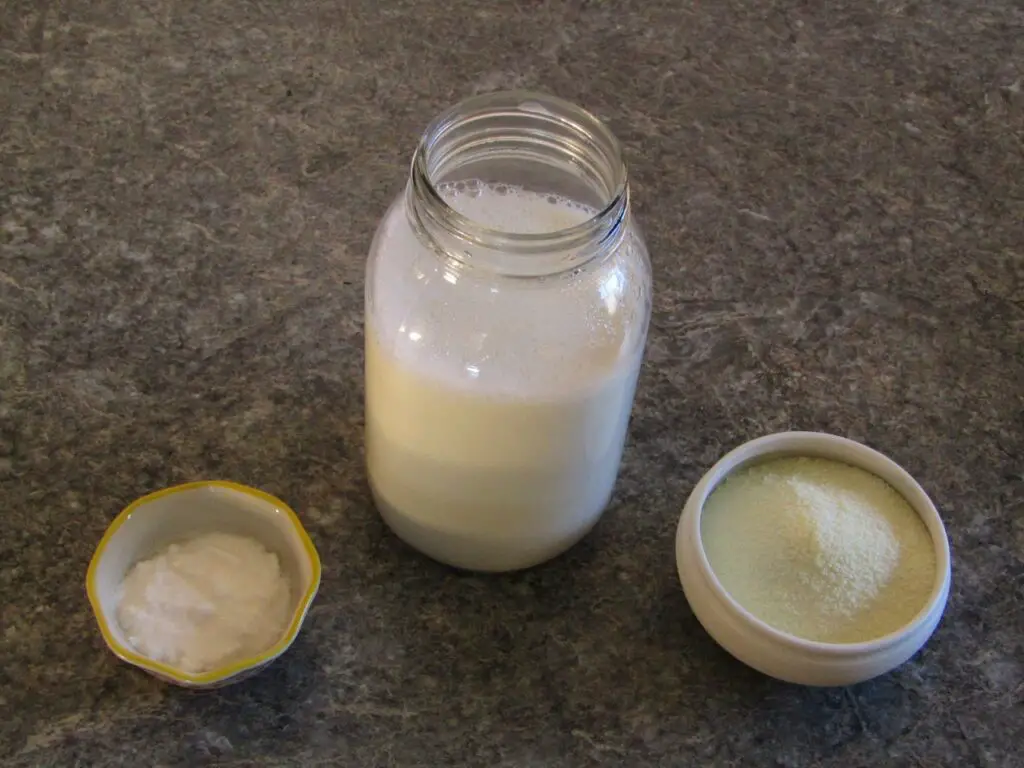
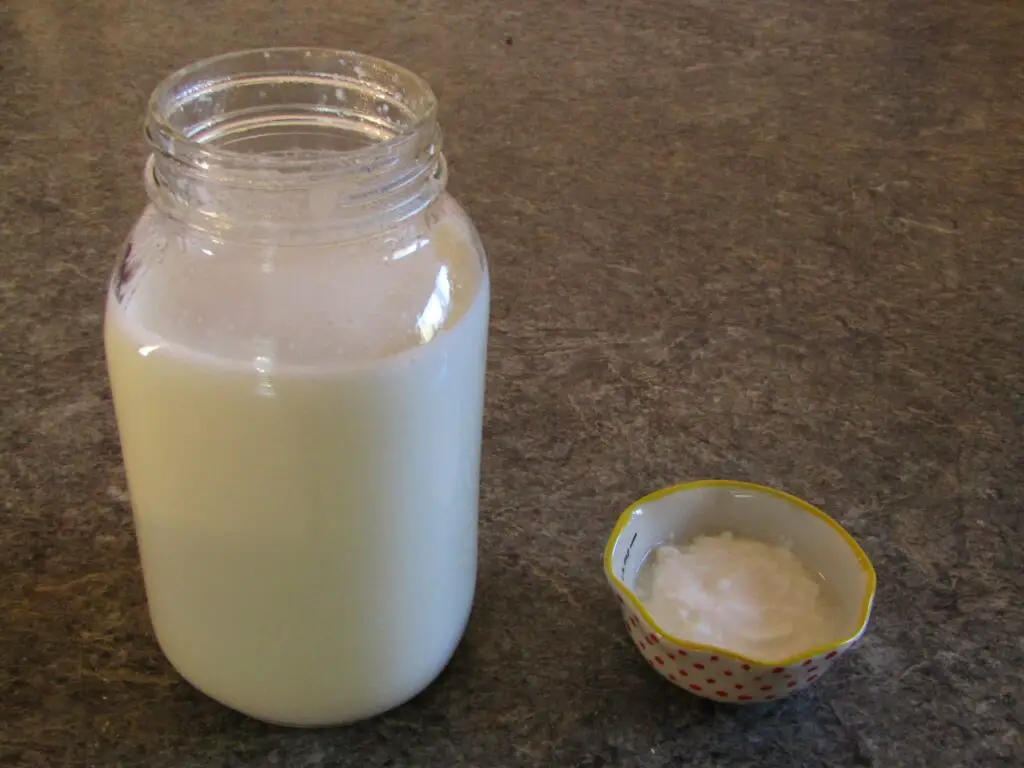
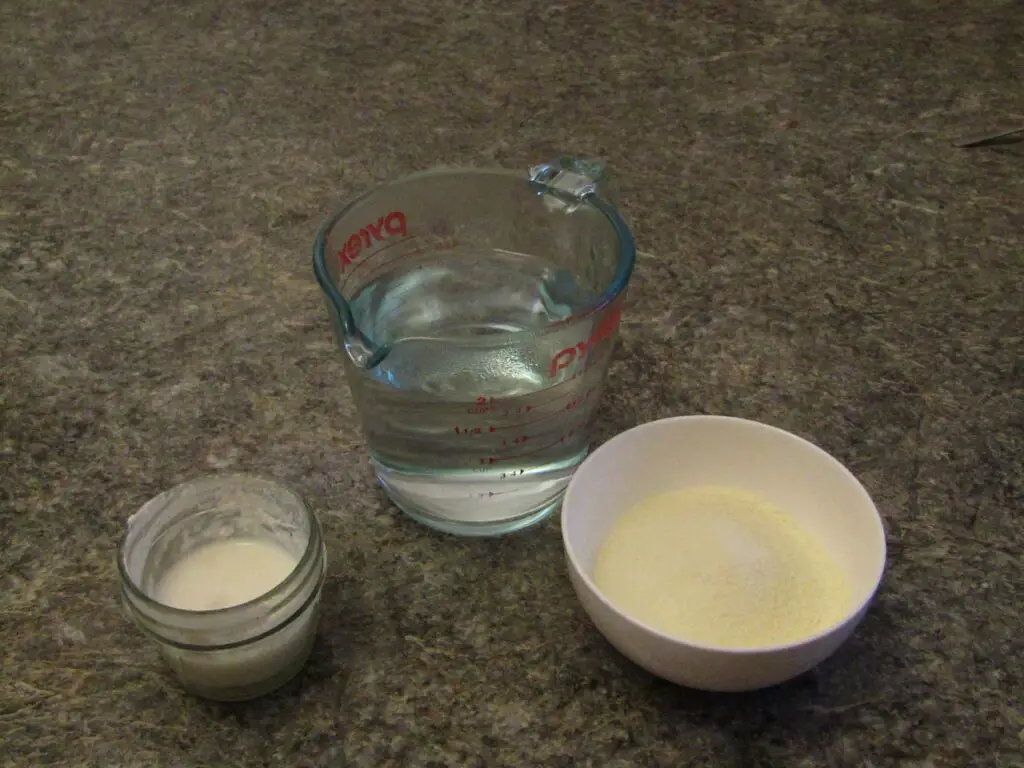
- Heavy cream
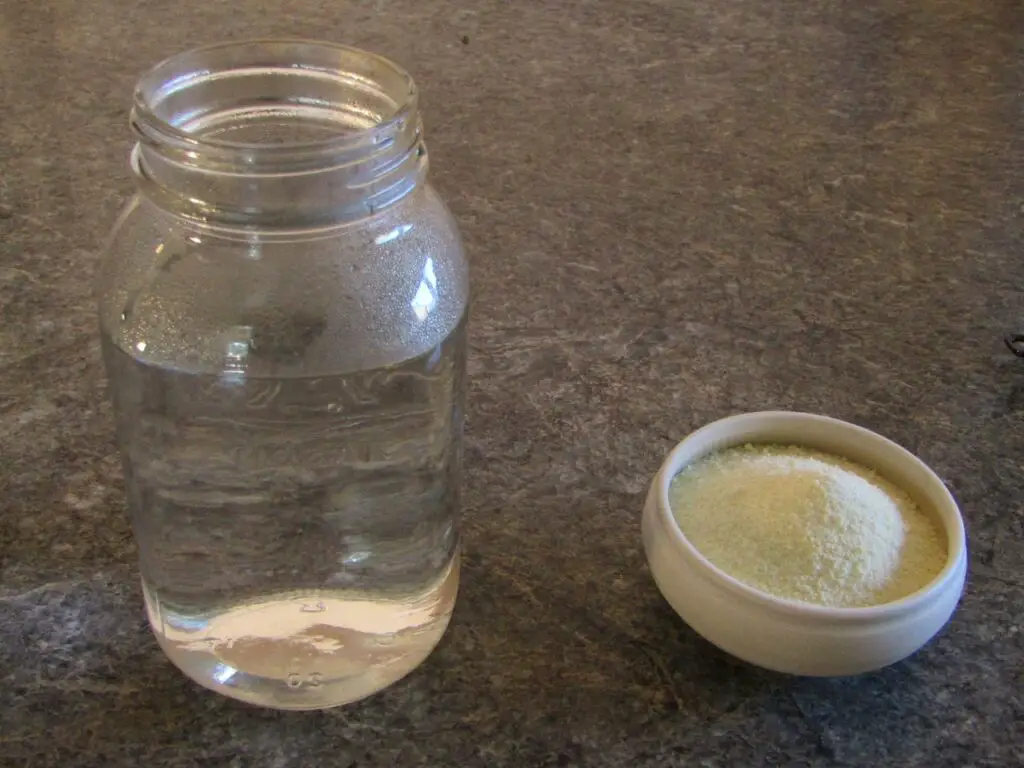
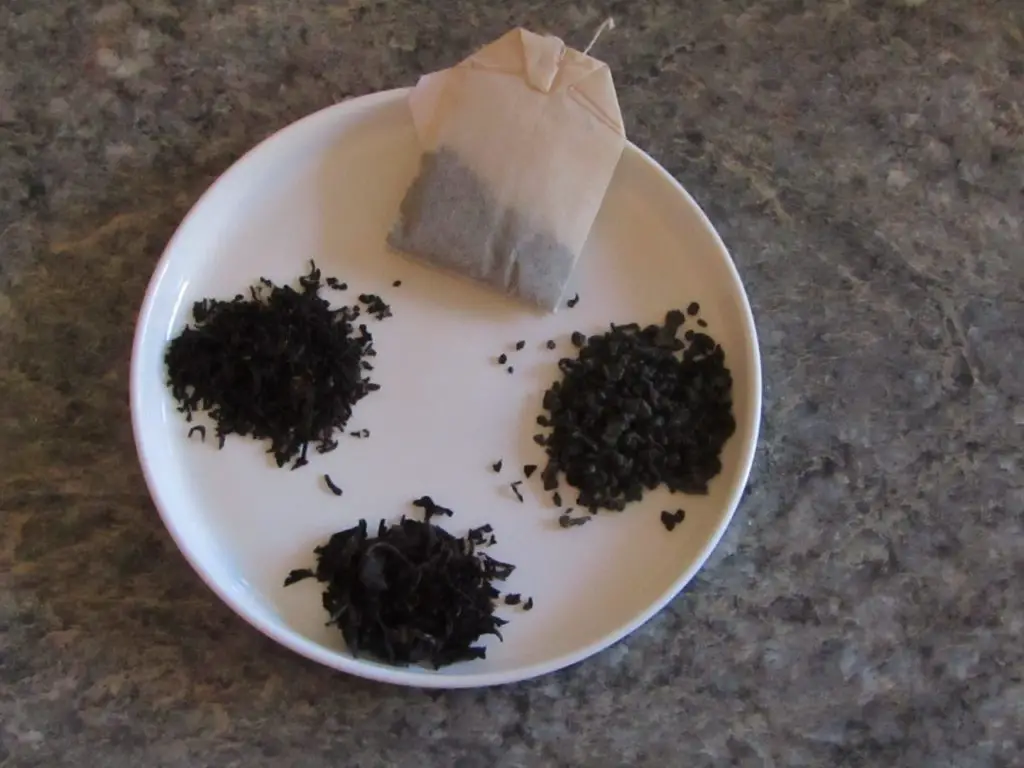
- Yogurt starter
There are many types of yogurt starters which are on the market. I prefer using a heirloom starter which I have used continuously for over two years. For your convenience here is a link to various yogurt starters on Amazon.
Instructions:
- In the double boiler heat the cream to 180℉(82℃)
- Maintain temperature for 20 minutes stirring occasionally
- Pour the cream into the container and let cool to 110℉(43℃)
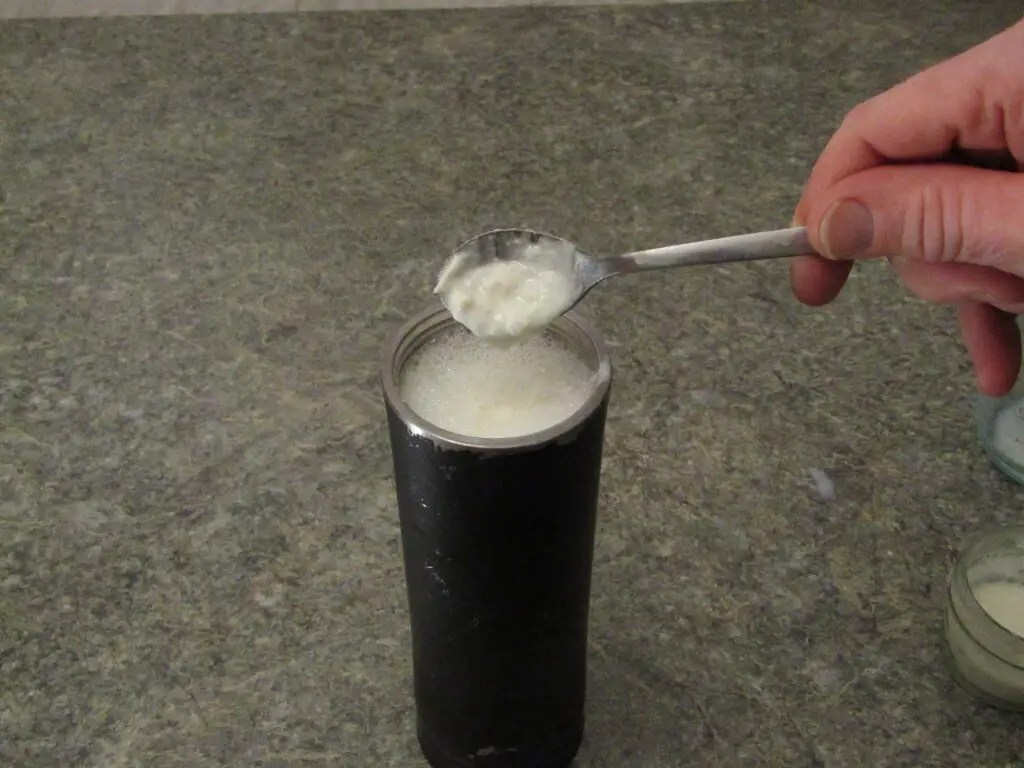
- Add the yogurt starter and whisk together
- Place the container in a warm place between 108℉(42℃)-115℉(48℃)
- Incubate for 6-12 hours
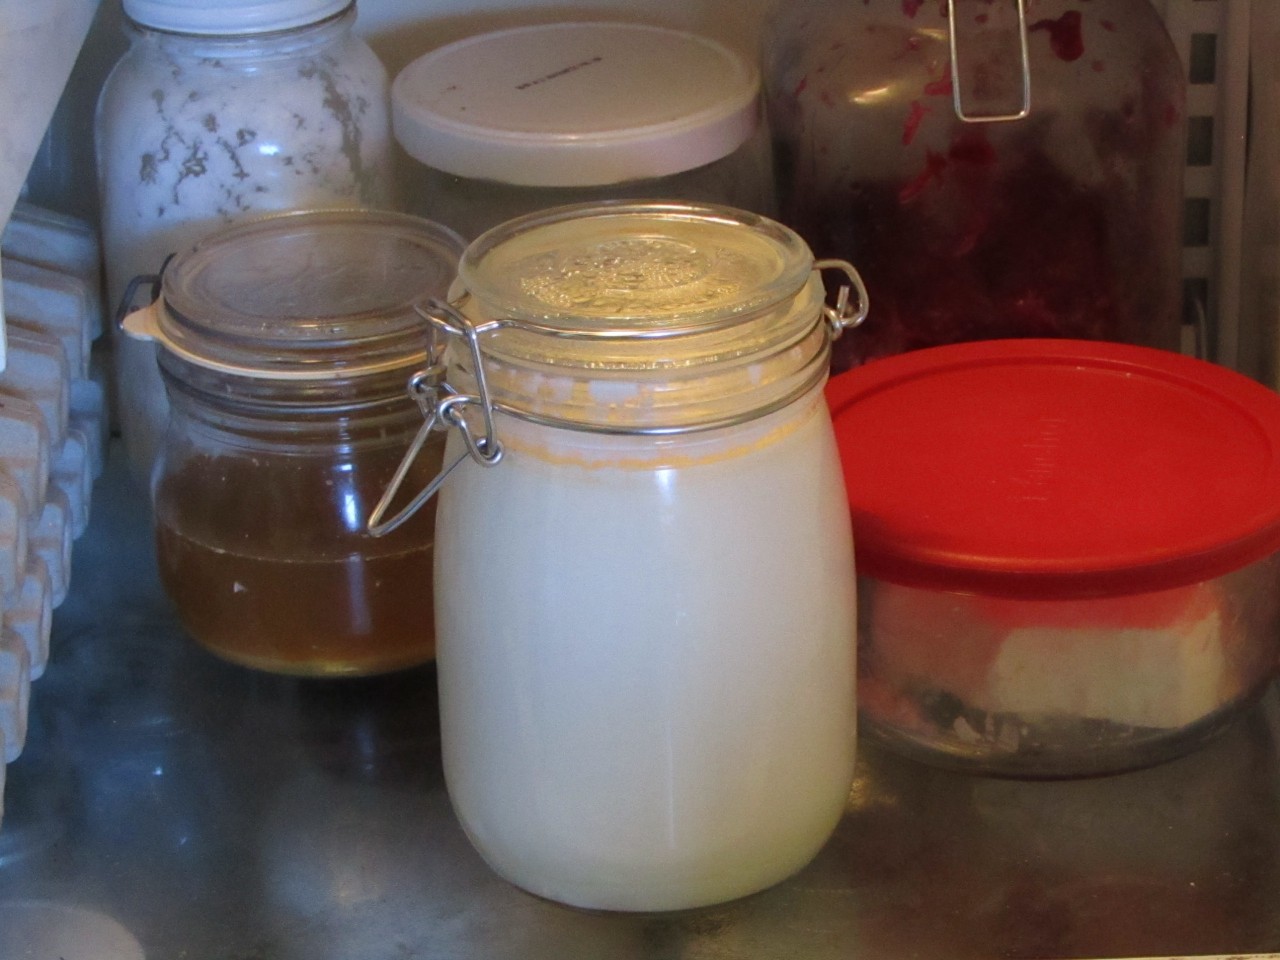
- Place the yogurt into the fridge for at least two hours to cool and set
When making yogurt from heavy cream it is important to stir the cream regularly when heating it to help keep the fat from dissociating itself from the milk proteins and to facilitate more water evaporation. This will make the yogurt even thicker as the ratio of water to fat and protein decreases as the milk is heated. For more reasons why heating the cream is important check out this article about 6 reasons it is important to the milk.
To incubate your yogurt you need a location to put it which will maintain a steady temperature between the recommended range. This can be a yogurt maker, an oven with a pilot light or incandescent light bulb turned on or several other methods which you can learn about here (– ways to incubate yogurt without a yogurt maker). It is important that the yogurt does not fall below the recommended temperature as it can make for stringy, slimy or ropy yogurt (post about slimy yogurt).
When incubating your yogurt it will thicken once it reaches a pH below 4.6. This is the acid level where the proteins will begin to associate with one another and form a gel. The longer it incubates after this level has been reached the tangier your cream yogurt will be. You can incubate it for longer, some with lactose intolerance may want to incubate it for 24 hours or more. For more about what happens to yogurt when it is incubated for extended periods of time read this article here.
Why Heavy Cream Yogurt is Thicker Than Low Fat Yogurt
The consistency of yogurt depends heavily on the ratio of fat to water in the milk. Although there are other factors such as the length of incubation time, type of starter used and the length of time the milk was heated the main factor remains the amount of fat in the milk at the beginning.
Heavy cream has 5.0g of fat per cup of milk vs skim milk at 0.2g. Fat in milk helps protein from separating into globules and keeps the yogurt smooth and creamy. Low fat yogurt forms loose bonds within the milk and is prone to expelling water and doesn’t maintain its structure when mixed.
When yogurt incubates the lactic acid bacteria in the milk begin to acidify the milk by producing lactic acid. As this happens the proteins in the milk will begin to associate with each other and form loose bonds (it gels) which is why yogurt is thicker than the milk it was made from.
As the protein forms the gel it includes some of the surrounding components in the milk and the yogurt takes on a thickness which is a combination of the viscosity of the gelled protein and the additional components. Heavy cream yogurt has less water in it then skim milk and as a result is included in the gel more then when skim milk is used. Since fat is more viscous than water the yogurt becomes thicker.
The longer the yogurt is incubated the lower the pH becomes and the stronger the bonds between the proteins and forces them together. This causes the included components in the protein matrix to be expelled. Since water is a smaller molecule than that of fat the water is released first which produces whey.
24 Great Ways to Use Heavy Cream Yogurt
So you have made some yogurt from heavy cream and you want to use it for something besides just eating it with a spoon (which is excellent by the way). This type of yogurt is great for adding body to any recipe which uses yogurt, cream or any type of dairy. It is a great substitute for greek yogurt as it is thick and creamy without the need to drain any of the whey out and then try to find something to do with it.
Use Heavy Cream Yogurt For Breakfast
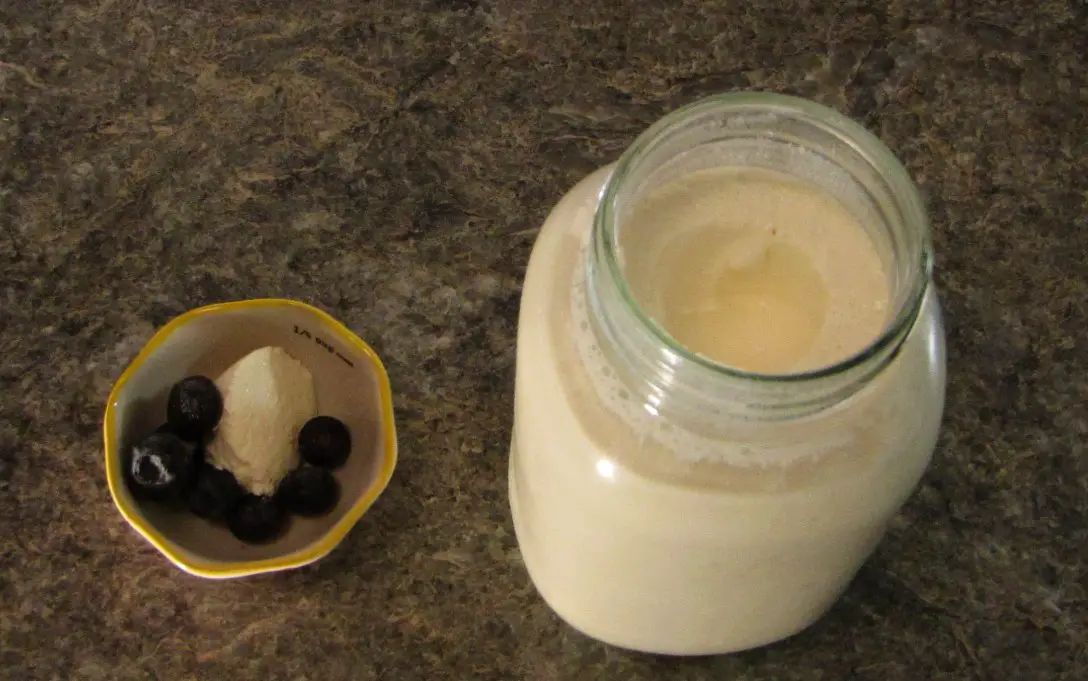
Creamy Yogurt Morning Smoothie
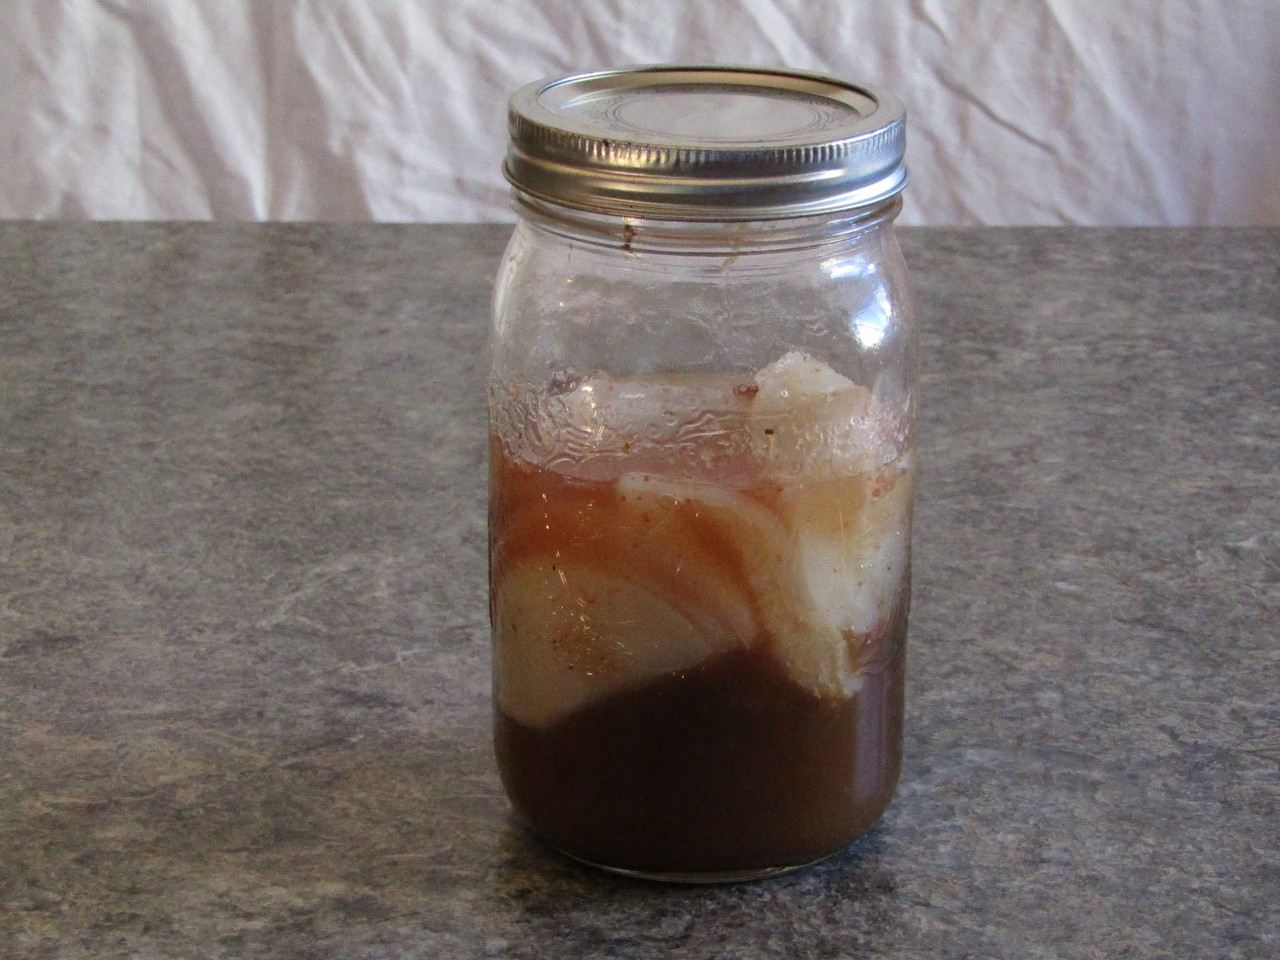
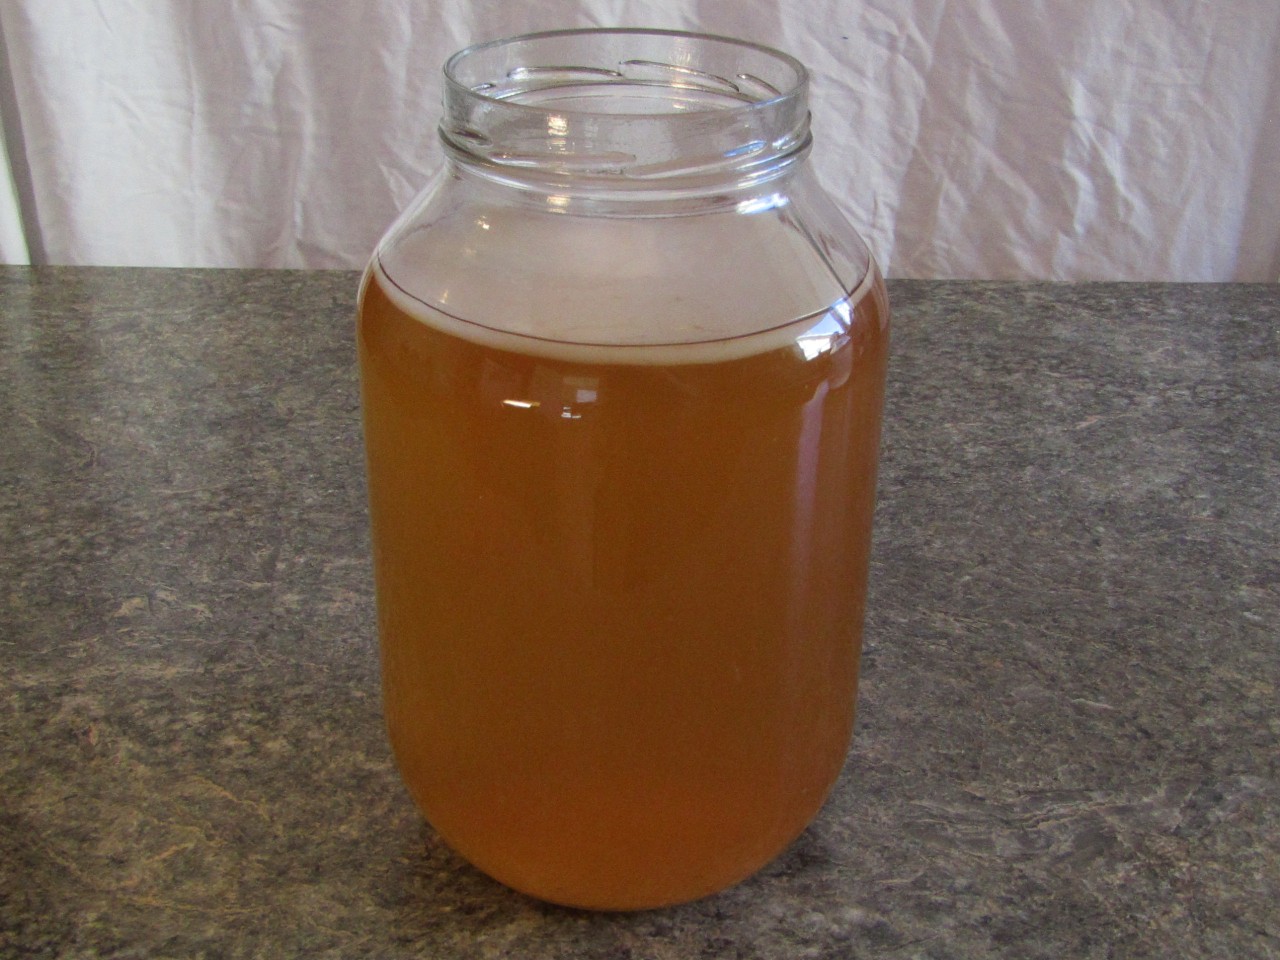
This is a simple way to start your day. You can use any type of frozen fruit you have on hand, some type of juice or other liquid (I like to use kombucha) and some heavy cream yogurt. You will need a high powered blender to liquify and combine all the ingredients.
Cinnamon and Honey Yogurt Oatmeal Bowl
The blend of cinnamon, honey and heavy cream yogurt makes this a very satisfying morning breakfast. Make the oatmeal with cinnamon to tie the dish together and serve under or beside the yogurt.
Nut/seed Flour Pancakes
Here is a great gluten free breakfast which closely resembles its gluten full counterpart. The cream yogurt can be used in two ways for this recipe. Yogurt is added to the batter to add some fat and acidity to the batter. This helps the pancakes to rize better and hold its structure. It can also be used as a topping to add a level of decadance to a typically bland breakfast.
Fruit Bowl
Sometimes the most simple recipes are the best. Fruit bowls are great because you can use any type of fruit you have on hand. Simple cut the fruit into bite sized peices mix the m together if you are using a variety of fruit and load them into a bowl. Top with a generous spoonful of heavy cream yogurt and enjoy.
Use Heavy Cream Yogurt For Lunch
Vegetables and dilly dip
Dilly dip is one of the classic dips used for vegetables. It adds a nice tang and flavor to any fresh vegetable. Dilly dip can be runny and not stick to the vegetable very well as it usually has a high amount of water in it which makes it not very viscous. When heavy cream yogurt is used the dip becomes very viscous and will stick to almost anything.
Soft Taco with Creamy Guacamole
Guacamole is usually made simply with avocados, lemon, garlic and sometimes some type of oil. Salted to taste and served as a cooling condiment for hot Mexican recipes. This recipe adds some tang and protein to the mix and makes it a creamier condiment.
It also keeps the guacamole from discoloring when it is exposed to oxygen. The fat and acid in the yogurt acts as a buffer and slows the oxygenation. This makes it great for a premade lunch filler for taking to go.
Sliced Meat Pita Pockets with Tzatziki
These are a great way to use any leftover meat but still not feel you are eating leftovers. Any roasted meat will do, sliced thin and spiced accordingly. Tzatziki made with heavy cream yogurt makes for a thicker spead which will not move around and soften the pita so you can make these in the morning and have them at noon without them falling apart.
Use Heavy Cream Yogurt For Supper
Beef Stroganoff
Beef Stroganoff is a classic Russian comfort food. Full of tender slow cooked beef, onions and mushrooms this makes for a very satisfying main course. With the addition of heavy cream yogurt rather than normal or low fat yogurt it becomes even better.
The fat in the yogurt helps it to mix evenly with the gravy and forms a smooth sauce not achievable any other way.
Falafels and Yogurt Garlic Sauce
Falafels are a wonderful Indian comfort food. High in fat and protein they make for a good side dish or addition to a dinner salad. The yogurt garlic sauce made with heavy cream is a perfect addition as it cuts the fat and adds another layer of flavor which goes great with the spicy falafels.
Fermented Mexican Taco Salad
If you make Tacos properly you should need some type of cooling condiment to go with it! Mexican food is supposed to be hot but of course not everyone can take the same amount of heat. This is where the yogurt comes in. Serve it as a side dish or served on top of the salad with some chives or herbs.
Use Heavy Cream Yogurt in Baking
Yogurt, when used as a replacement for some of the liquid in shortbread baking, adds acidity to the recipe. This does two things:
- It adds to the savory flavors of the baking, bringing out the tangy flavors more and cutting the sweet flavors some.
- Helps the baking rise with more power when the acidity of the yogurt reacts with the rising agent.
In addition heavy cream yogurt adds body to the baking helping to keep it moist and making it last longer.
Biscuits
When heavy yogurt is added to biscuits they are fluffier and nice and flaky. The yogurt adds some tanginess and replaces some of the oil in the recipe. This makes for a lighter biscuit which goes great with jam or marmalade. If you can serve them hot out of the oven with butter as they are excellent when they are hot and fresh.
They do keep well though due to the added acidity in the batter which prevents mold growth for longer and the fat in the yogurt retains moisture.
Muffins
Good muffins are moist, soft and evenly risen. It can sometimes be hard to make muffins without tunnels and tough batter (which is usually a result or over beating the batter). With the addition of heavy cream yogurt muffins remain moist for longer, take less time to mix and produce much less gluten strings than muffins made with milk.
Almond Flour Cookies
This recipe is for those who cannot eat gluten or are on a no carb diet like paleo or the specific carbohydrate diet. Almond flour makes a great ingredient for cookies so long as it is not too fine. It is the space between the granules of almond flour which makes these cookies light and crunchie.
They are a real protein shot for those who want to boost their protein intake during the day.
Use Heavy Cream Yogurt For Dessert
Fruit Flavored Yogurt Cups
Any type of fruit can be used to make these but something with a bright color like fresh strawberries or blueberries add to their appeal. They are made with only two ingredients and do not need any sweetener as the fruit has enough sweetness to balance the creamy yogurt.
Cheese Cake
Using heavy cream to make cheesecake produces a super creamy cake which is made without any form of gluten or other thickeners. By lowering the liquid content of the yogurt the cake is much less likely to crack as it cools and makes a beautiful fancy dessert.
Ice Cream
There is nothing like creamy cool ice cream but there are some who cannot eat normal ice cream because of the lactose in it. This recipe uses creamy yogurt instead of the more typical unfermented heavy cream. This makes it a bit tangy which to me makes it all the more delicious.
Use Heavy Cream Yogurt For Dips and Sauces
Cream Cheese
Although heavy cream yogurt is very thick it still has a fair amount of whey in it but when it is made into cream cheese it has a high fat content making this cream cheese velvety smooth and great for cream cheese icing, spicy dips or any other cream cheese recipe you may want to try.
Tzatziki
Tzatziki made with heavy cream makes a thicker richer condiment which can be added to almost any sandwich, salad or as a cooling dip for those hotter recipes. The fat content in the heavy cream adds body to the tzatziki and helps it from separating as it sits.
Vegetable Dilly Dip
This is a great use for any older cream yogurt you have in the fridge. The lactic acid bacteria in the yogurt continues to acidify the cream, even in the fridge, so as time passes it gets tangier. This recipe is a great use for overly tanky cream yogurt. The acidity brings out the dill and garlic flavors in the dip.
Creamy Guacamole
Guacamole is usually made only with avocados, lemod and some spices but this recipe adds a creamy element which takes it to a new level. The cream yogurt smooths out the guacamole and adds a bit of tanginess which is much mellower than the acidity added from the lemon.
Raita
A light and refreshing condiment which can be made spicy or cool depending on the amount of chillies you add. It goes great with lamb, naan bread or with a spoon. The heavy cream adds body to the raita which helps it to stay put when using it as a dip or filling.
Yogurt Garlic Sauce
If you like a little sour cream on top of your baked potato or a creamy sauce added to your lunchtime wrap this is a wonderful addition to your choices. The garlic cuts the heaviness of the sauce while the heavy cream adds body to the sauce.