
This post contains affiliate links.
Homemade yogurt is a great addition to anyone’s pantry with its creamy tangy flavor. It can be made to your liking either fermented a short period of time for a sweet slightly tangy flavor or fermented a longer period for those who like it tangier or want less lactose in their yogurt.
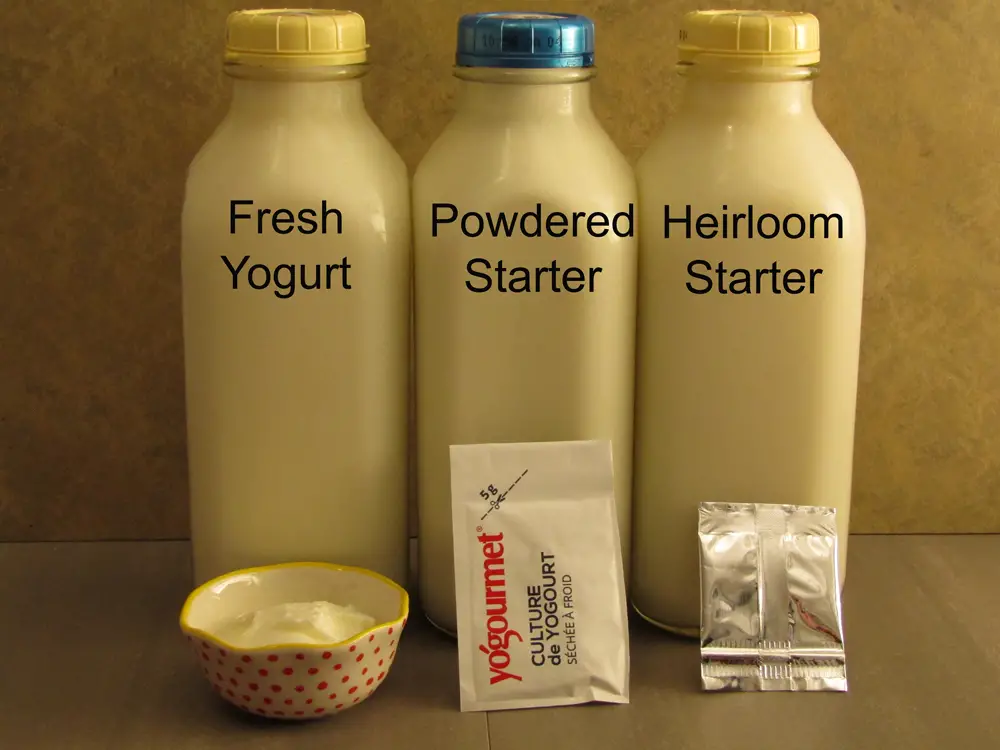
When considering making your own yogurt there are several choices. You can make it from yogurt from the grocer, from a powdered yogurt starter or you can make it from an heirloom yogurt mother. Each has their benefits and drawbacks and levels of commitment.
Yogurt from store bought yogurt as a starter
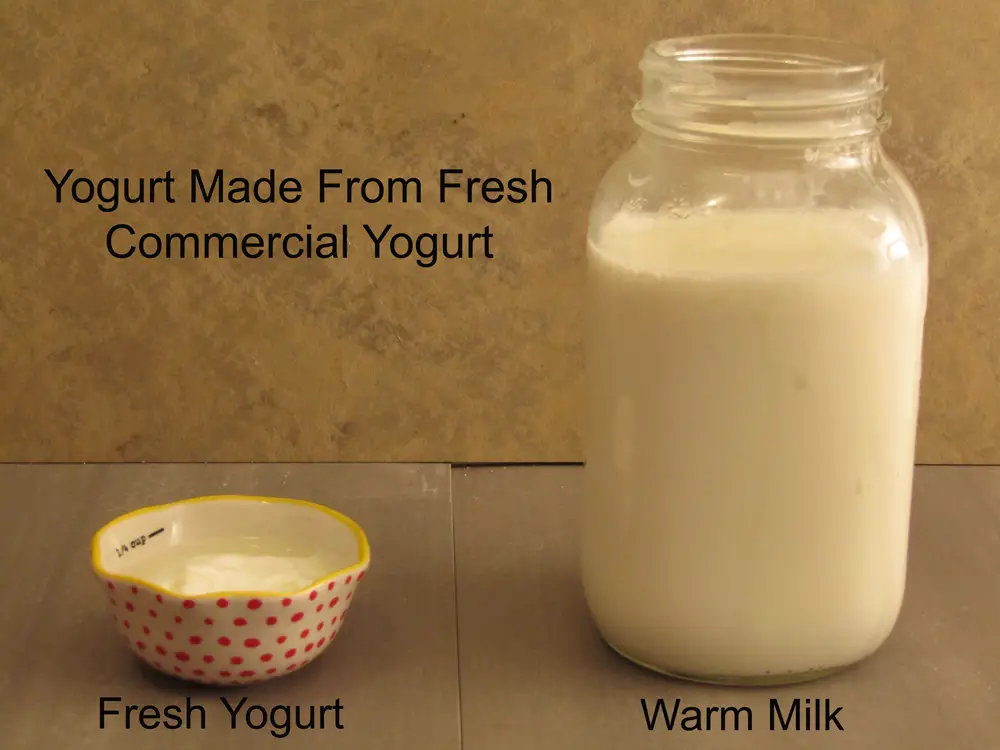
If you are first starting out on your yogurt making adventure then this is the best method for you to learn if you like it. All it requires is a little bit of store bought yogurt to use as a starter and a warm place to ferment it.
Benefits of making yogurt from commercial yogurt
Time commitment
This is the easiest method which requires to least amount of time to make. If you have a half an hour you can prepare the milk for fermentation and then let the lactic acid bacteria to their work and in 12-24 hours you will have fresh homemade yogurt.
Familiar flavor and consistency
Making your yogurt with store bought yogurt as a starter will make a yogurt which is very similar to the yogurt you get from the store. This is because the bacterial culture which are used to make commercial yogurt is standardized. Only two species of lactic acid bacteria need to be used for commercial yogurt, Lactobacillus bulgaricus and Streptococcus thermophilus. These strains will produce the same flavors and texture in your homemade yogurt as they will in a commercial setting.
No long term commitment
Making yogurt this way has no strings attached. If you don’t like it you can just go back to the store bought version, if you eat it all and don’t save any for another batch you can get another container of store bought and start again and if it goes off in the fridge you can throw it away.
Cheaper than store bought
Yogurt made this way will cost you the price of the yogurt and the milk you are making it from. For the same amount of yogurt you would have to spend at least twice the amount.
Drawbacks of making yogurt from commercial yogurt
Limited lactic acid bacterial strains
As mentioned above there are a limited number of bacterial species found in store bought yogurt. This limits the health effects the yogurt has.
Cannot be continuously made
Yogurt made with only two cultivated species of lactic acid bacteria are susceptible to contamination from other unwanted bacteria. The two species cannot dominate the culture efficiently enough not to leave an opening for some unwanted bacteria to gain a foothold.
Once one unwanted bacteria begins to grow others follow leading to a weakening of the original species making your yogurt inedible.
To ensure your homemade yogurt is tasty and healthy for you use fresh store bought yogurt as a starter every few batches.
How to make yogurt with commercial yogurt as a starter
Ingredients:
- One cup Store bought yogurt
- One gallon of milk
Equipment:
- Non-reactive container
- Large stock pot
- Wooden spoon
- Whisk
Instructions:
- Wash all equipment with hot soapy water and rinse well. Let everything air dry.
- Gently heat the milk in the stock pot until it starts to simmer. Pour it into the non-reactive container and let it cool until it is warm to the touch but not hot (about 115˚F/46˚C).
- Add the fresh yogurt and whisk it in until the yogurt is well mixed into the milk.
- Place the container in a warm location which can maintain a temperature between 110˚F/43˚C-115˚F/46˚C for 12 -24 hours depending on how tangy you like your yogurt or how much lactose you want in the final product.
- Once yogurt has set put it into the fridge for a few hours to cool.
Yogurt from direct set yogurt as a starter
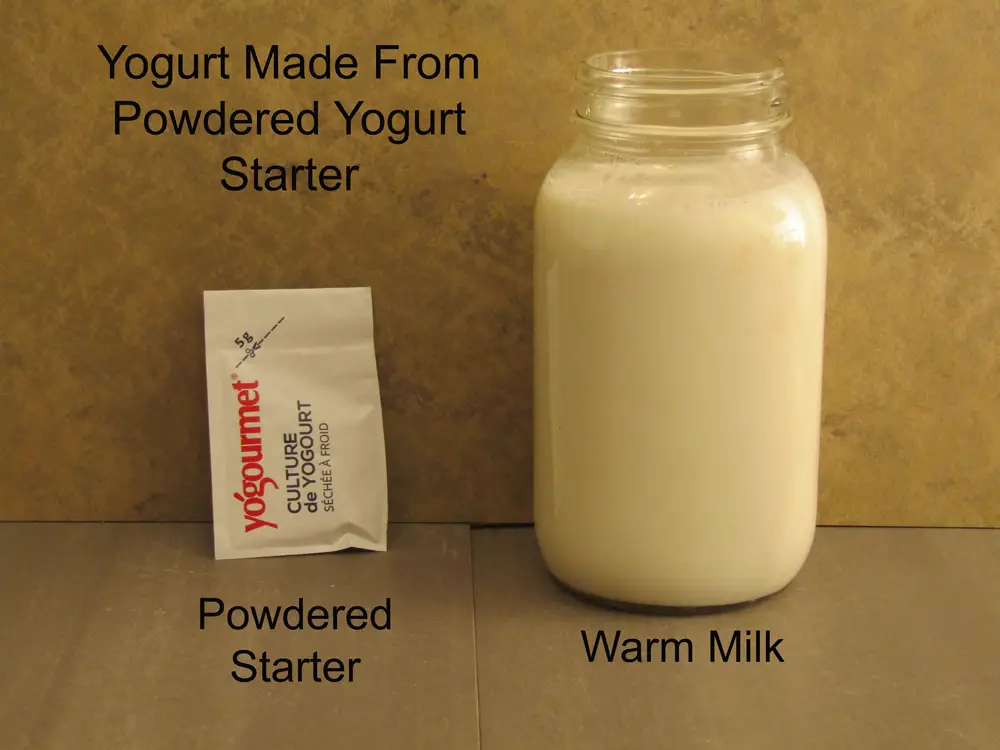
Making yogurt from these packets is a good choice if you only occasionally use yogurt. They make larger batches of yogurt from each packet of the starter which can be used over a period of a few weeks. The package of packets usually has 4-6 packets in it. You can purchase a variety of these powdered starters by following this affiliate link to Amazon.
The benefits of direct set yogurt starter
Easy to use
To use these packets all that is required is you to mix the powder into a small amount of milk to ensure they are fully hydrated and then mix them into the heated milk to incubate.
Consistent results
The bacterial species found in these packets are basically the same as those which are used for making commercial yogurt. This provides consistent results which are close to what you would buy at the store.
Flavor profile can be sweat or tart
You have the option of how long to ferment your yogurt. If you choose a shorter time frame it will be sweater as the culture will not have enough time to consume all the lactose (the sugar in milk). With a longer fermentation period the yogurt will be tarter with the addition of more lactic acid and less lactose.
Come in a variety of styles
There are a variety of styles of yogurt starters on the market including, Bulgarian, Greek, traditional, matsoni and mild flavors.
Each have their own texture and flavor. Greek and Bulgarian styles produce a thick yogurt, traditional matsoni produce a thinner yogurt more like the yogurt you get at the store.
There are other types which produce a thin drinkable yogurt.
The drawbacks of direct set yogurt starter
Must make the entire batch
The packets are made to make a batch with a certain size. If you use the packet for a smaller amount of milk it will work fine but you are not making the most yogurt you can with the packet. Since the culture will grow to match the amount of milk it may take less time to ferment but the amount will be smaller.
If you use more milk then is recommended for the packet you are risking the batch going off rather than making yogurt.
Only a few lactic acid bacteria species used
These packets contain only a few bacterial species which are needed to thicken the milk into yogurt but not a full range that a heirloom type has. This has several implications:
The yogurt has fewer probiotic effects
With fewer species of lactic acid bacteria in the yogurt you will have in the culture the fewer health benefits there will be. Each type of bacterial strain produces different vitamins, enzymes and makes different minerals available to you.
With a wider variety of species you will get a fuller spectrum of benefits.
The yogurt cannot be used to make continuous yogurt batches
Just like starting yogurt with fresh commercial yogurt the culture is weak. It does not have enough variability to keep all other bacterial strains out of the culture. Once one gets in others are sure to follow.
Packets must be stored in the freezer
If you don’t make yogurt often then you have to store these in a cool location otherwise they will not work when you go to use them.
The freezer is a great place to store food for the long term but they can get overcrowded and things get lost and damaged.
How to make yogurt with packaged yogurt starter
These types of starters are thermophilic meaning they need heat to properly culture the milk so follow the instructions about how to make yogurt with store bought yogurt except instead of fresh store bought yogurt stir in a packet of yogurt starter.
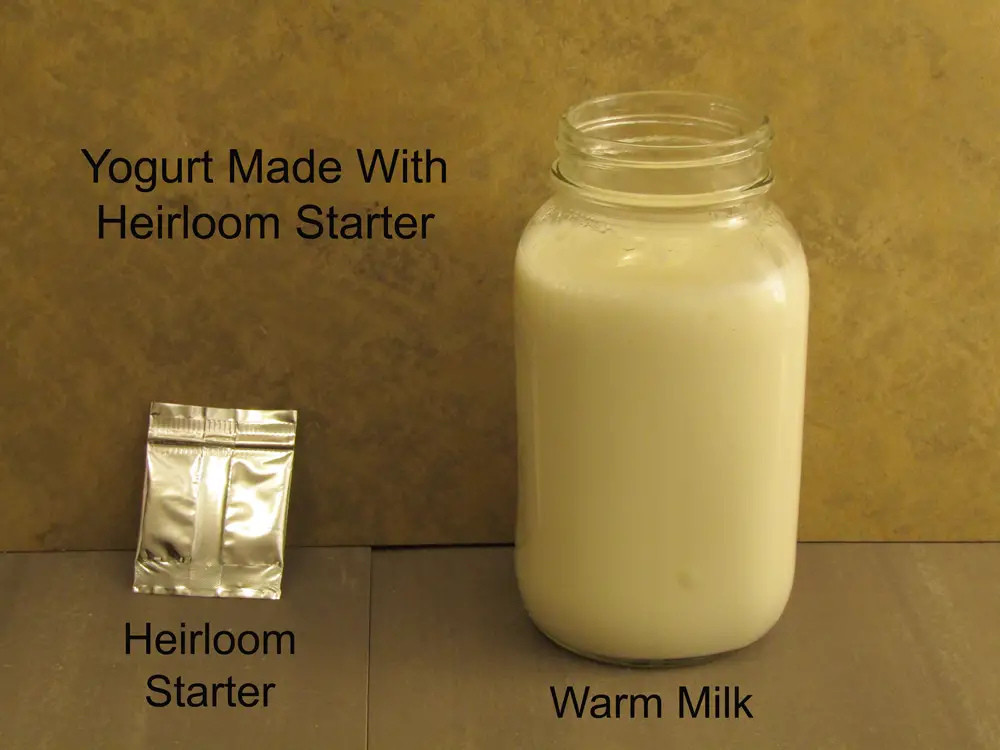
Making heirloom yogurt
Benefits of using a heirloom starter to make yogurt
More lactic acid bacteria species then other types
For the culture to remain stable over a long period of time it must have a wide variety of lactic acid bacteria present to dominate the milk while it is fermenting.
Lactic acid bacteria can acidify a batch of milk in a short 6 hour ferment which helps to protect it from mold and unwanted bacteria. With a wide variety of lactic acid bacteria there is no room for spoilage bacteria to grow in the culture.
Along with the additional bacterial strains comes a healthier yogurt. More strains of lactic acid bacteria will produce different vitamins, enzymes and make a wider variety of minerals available to your system. This increases the health effects of eating yogurt.
Can make yogurt indefinitely
The wide variety of lactic acid bacteria makes a very stable community which protects itself from invasion from unwanted microbes found in the environment. This ensures that the yogurt culture will continue maintain its integrity as long as it has fresh milk to grow in.
Cheaper than store bought
Once you have bought your heirloom starter you can make an unlimited amount of yogurt with it. Each batch of yogurt will cost you the price of the milk you use to make it, which is much cheaper than buying store bought yogurt.
Can make any sized batch
With this method you can make any amount of yogurt you need. If you have a large family which consumes a lot of yogurt then increase the size of the container of fresh milk. If you only use a quart of yogurt a week then you can reduce the amount you make.
Be sure to use a ratio of 2 tablespoons of yogurt for every quart of yogurt you make to ensure the milk is properly inoculated.
Drawbacks of using heirloom starter to make yogurt
High commitment level
This way of making yogurt requires the most commitment of all three methods. When using this method you have to be ready to make yogurt regularly, at least every two weeks but better every week. This is because the culture which makes the type of yogurt you are making needs to be fed regularly to maintain its integrity.
By feeding your culture every week it will continue make the same yogurt for you every time but if the culture is ignored for too long it can get out of balance and begin to taste unpleasant.
Hard to care for more than one type
There are lots of varieties of yogurt, all of which have a different profile and can be used for different purposes. Once you decide on a type of yogurt you like you are committed to making it. If you want to add another type you will have to maintain it just like the other one.
How to make heirloom yogurt
The first thing to do is the get a starter culture or yogurt mother from somewhere. These can be purchased online or begged from someone who has an active culture. They come in a wide variety of types which can be fermented at room temperature (Mesophilic) or warmer (Thermophilic).
Each type has a different texture and flavor which is due to the variation in the species in the culture, how it is made and length of time it is fermented. There is little information about the actual species of lactic acid bacteria found in the different types of yogurt but from the unique flavor and texture of each we know there are varying species in each.
The “mother” of a heirloom culture is just a sample of the culture kept back to ferment the next batch. This sample contains all the viable bacterial species in the yogurt which then grows quickly in fresh milk.
Different styles of heirloom yogurt
If you are interested in any of the above options follow the affiliate links to Amazon for purchase.
Making yogurt without heat (Mesophilic )
This is the easiest way to make yogurt but it tends to make yogurt which has a thinner consistency than the thermophilic kinds.
If you are using a purchased starter culture you will need to activate the starter. To do that you need to stir the powder into a jar of milk cover it and let it sit in a warm location in your kitchen. It should set in 6-12 hours.
Once it has set store it in the fridge. You can eat this yogurt but save some to start another batch. You will need about 2 tablespoons for a quart sized jar.
Now that you have a starter you can use it to start another batch simply by stirring some of a prior batch into a fresh jar of milk and letting it ferment for 6-24 hours depending on how tart you like it.
Making yogurt with heat (Thermophilic)
These types of heirloom starters need heat to properly ferment the milk. To activate your starter follow the instructions on how to use the one time yogurt packets. This will activate your starter which then can be used continuously to make more yogurt.
Use the store bought method where you use some of the last batch to make the new batch.
Incubation methods
With a yogurt maker
These come in all shapes and sizes. There are some which have individual cups and some which have a large container but the idea is the same, it has a thematically controlled chamber which maintains the temperature at the ideal temperature for yogurt making.
If you want to make yogurt regularly, having a yogurt maker is a great idea. They are convenient and easy to use. There are many options to choose from:
- Electric heaters or insulated systems
- One large container or several smaller ones
- Dedicated yogurt makers or multi-purpose
- High quality or cheap
Depending on your needs any of these options will work for you. For a complete guide to purchasing a yogurt maker which is right for you check this article here or if you know what type you want use this Amazon affiliate link here for your convenience.
Simply fill the fermenting container(s) with your new fermenting yogurt place them into the chamber and put the lid on. It 6-24 hours you will have fresh yogurt.
Place the yogurt in the oven with the pilot light on
This works great if you have an old style oven with an incandescent light in the back of it. The light should keep your yogurt at the target temperature. Simply place the container in the oven and turn the light on. Put a sign on the oven door and temperature control to avoid someone from using the oven while your yogurt is incubating.
The first time you do this use a thermometer to ensure your oven temperature stays within the target temperature. If it is too cool put some containers with hot water into the oven to raise the temperature. If it is too hot open the door a crack.
Use a cooler with hot water bottles
Place your container into a cooler and surround it with hot water bottles which are no hotter then 115˚F/46˚C. Close the lid tightly.
The hot water bottles should keep the yogurt warm enough for 12 hours. If you are wanting to ferment it longer replace the hot water bottles after 12 hours.
Use a water bath
Place your yogurt container in a water proof cooler and fill it with warm water with a temperature about 115˚F/46˚C. The water should stay warm enough to incubate the yogurt for a 12 hour period.
Another container filled with hot water and a load of towels
If all else fails find another container or two, fill them with hot water and place them in the middle of a stack of towels with your yogurt container. Fold up the towels around the whole thing.
The hot water will keep the yogurt warm enough for a short 6 hour ferment. If you want to ferment your yogurt longer replace the containers holding the hot water and ferment another 6 hours.