Fermentation is a fun and creative hobby that produces new flavors which can add interest to any meal. I started to make my own ferments by making kombucha after drinking the store bought version for a year or two. Once I started making kombucha it was easy to branch out to other fermentations.
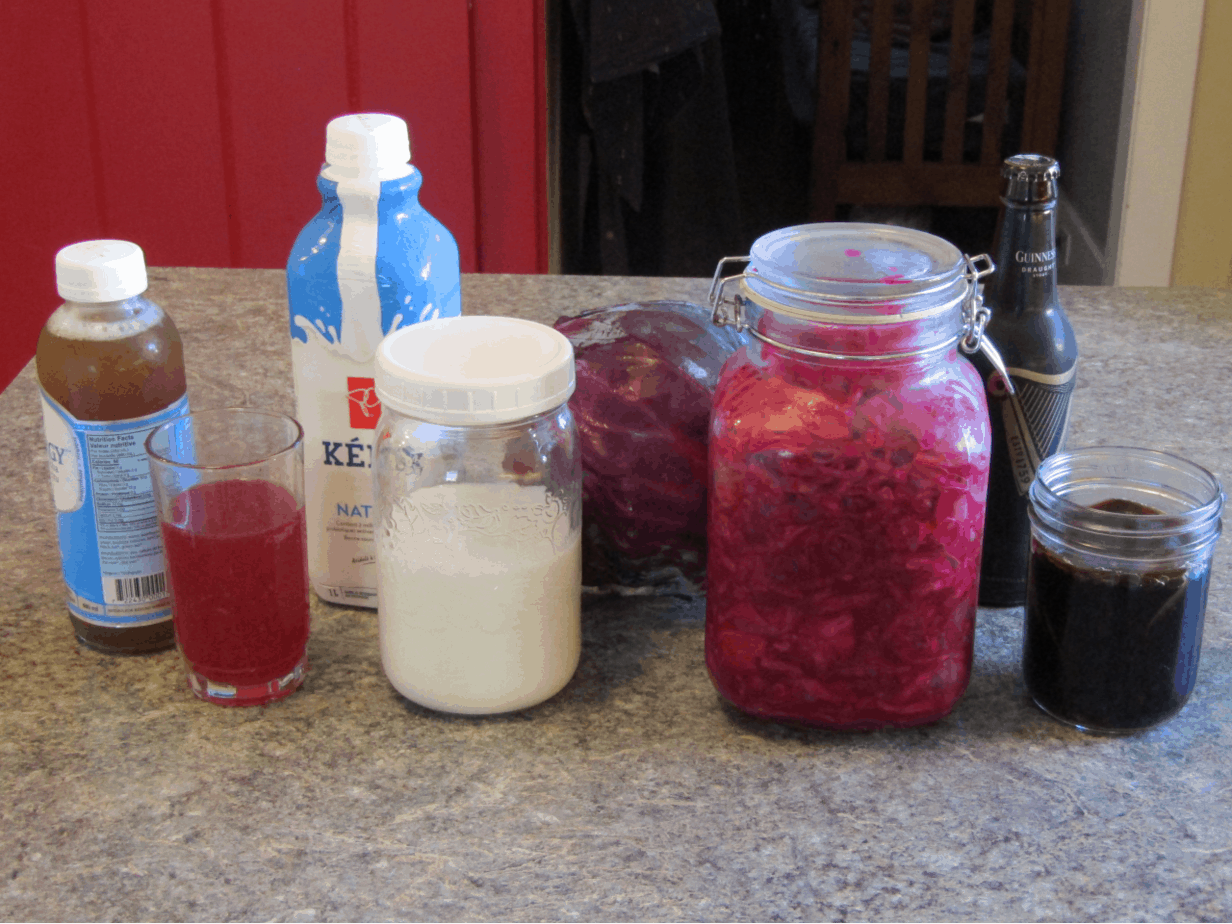
Today I have a cupboard full of new and strange experiments from normal fermentations like kefir, sauerkraut and kombucha to more difficult and long term fermentations like miso, soya sauce and vinegars of all types. The preservation of food through the use of fermentation is an ancient practice which adds new foods to your diet while taking part in history but before you begin on any new fermentation project here are a few things to do to ensure success.
Start with familiar types of fermentation
If you grew up on a meat and potatoes diet then don’t start your fermentation journey with Natto or miso making. These fermented foods, although very good, may be too much of a departure from your normal diet that you may not want to continue. Instead make pickles, sauerkraut or yogurt.
Once you get the hang of making some of the fermented foods you would normally eat you will be much more inclined to like the more funky fermentations like kombucha or tempeh. These and other fermentations have some characteristics which can be hard to get past (slimy growths growing on the surface and mold spores growing on the beans) but once you start to enjoy the flavors which can be achieved from various fermentations you will begin to look forward to new ones.
Try the commercial version first
There is nothing worse than spending time and energy learning how to make a new fermentation, waiting the required amount of time to taste it only to find you don’t like it. Avoid this by trying the commercial version, if it is available, before you try the homemade version.
Fermented food like yogurt, kefir and sauerkraut are good starting foods because of their availability. Make sure you try the cleanest and freshest versions which are actually fermented. When buying yogurt or kefir look for plain types with as few ingredients as possible. Most commercial brands include thickeners, added sugar and other ingredients to maintain quality during transportation and handling.
If you want to start with sauerkraut try some which has actually been fermented. There are several brands of sauerkraut which are made with vinegar and canned rather than fermented naturally. Make sure you try fermented sauerkraut before you make some yourself as it has a different flavor then the canned type.
Some fermentations are not readily available at grocer like tempeh and natto but they can be found at health food stores or asian grocers. These fermentations are a little more involved to make, so be sure you like them (or you think you can learn to like them). Here are ten reasons why you should learn to like natto.
Decide on ONE type of fermentation and expand from there
There are as many types of fermented foods as there are cultures and subcultures in the world. Way too many to learn all at once even if you had the space or time to do it all. Just as fermentation is a slow food your growth in fermentation should also be slow. You may find you like only a few projects bubbling away in an unused section of the kitchen or you may end up with a fermentation room chalk full of new and interesting things.
Just don’t go crazy and try to ferment everything in sight! Try one thing, after a few successful batches try another and soon you will have several projects which can keep you busy. Just keep in mind that they all need attention.
Learn some history about the fermented food you want to make
History is a great teacher, this is where the saying hindsight is 20-20 comes from. You can learn a lot about how and why a fermentation was made the way it was from the history of the food. For example, did you know that sauerkraut, the famous German staple, was not first made in Germany. Instead it is believed to have come from China and made its way to Germany through trade routes.
Kombucha, one of the most popular homemade ferments also first appeared in China but quickly made its way to Japan where it was refined and used as a healing tonic for thousands of years before it was commercialized and sold worldwide.
Kefir was first made in the caucasus mountains and was a closely guarded secret even among the klans. It was thought that they would lose their healing power if the grains were given away. This obviously slowed their spread throughout the world but now kefir can be found in most grocery stores.
The history of a fermented food will also give you an idea of how it can be made. As an example sauerkraut was traditionally made in the fall when the cabbages were being harvested. The ambient temperature was cool and got cooler as the season went on. Nowadays fresh cabbage can be found year round so you can ferment them in the heat of the summer but if you do you will have to either find a cool location or endup with mushy sauerkraut.
Make short duration ferments
Fermentation is a slow food. There are no microwave fermentation recipes, they all take time for them to mature. Vinegar can take up to six months before it is ready to taste, sauerkraut takes at least two weeks but is better after three or four. Miso, soya sauce, and most alcoholic beverages all take six months to a year before they are tasteable and are better with age.
Unless you are the most patient person in the world you may want to start with a shorter term fermentation like yogurt, kefir or sourdough bread. These fermentations can be made in 24 hours or less and will provide quicker results.
Once you have made a few batches of these short term fermentations expand to some which take a little longer such as kombucha, sauerkraut or fermented hot sauce. These take two to three weeks before they are ready to consume so they are good midrange fermentations to try. They can be started and left alone for a while giving you time to learn about other longer term fermentations.
Long term fermentations like miso and vinegar are time intensive to make at the beginning but once they are in the aging stage can be left for months. The challenge with the first few batches is leaving them alone. They need six months to a year before they are really mature enough to begin using them.
Find a reliable source of information
There are several benefits of making and eating fermented food. They are flavorful, store for a long time, provide cultural experiences and are also healthy and can provide great sources of vitamins and minerals.
Again it is impossible to be an expert in all these areas of fermentation and you may not be interested in all of them. You may be only interested in how things taste and what you can create in the kitchen with these new flavors or you may be interested in the health benefits which can be derived from fermented foods.
Find a source you can trust. When someone suggests making sauerkraut ice cream maybe they are not a good source for tasty recipes. If someone states you have a high probability of dying from acidosis if you drink kombucha three days in a row or cite old FDA warnings about kombucha to warn you off making it then it is time to find another source.
On the other hand sources which take a flippant attitude to food safety, relying on the bacteria to protect the food from spoiling or harmful bacteria should also be avoided. Sources which overemphasize the health benefits over their known health effects should also be taken with a grain of salt. Yes, fermented foods, as a whole, are good for you, they provide valuable vitamins and minerals, improve digestion and can help some medical conditions but they are not a cure all.
How to Start Fermenting Yogurt and Kefir
These are the shortest fermentations around, they can take less than 6-24 hours to complete and will produce a product which is familiar to the versions you can buy at the store.
There are three ways yogurt and kefir can be made. You can learn all three by reading “Three Simple Ways to Make Yogurt” and “Three Ways to Make Kefir an Illustrated Step By Step Guide” but here is the easiest method for both to get you started.
How to make yogurt for the absolute beginner
You will need:
- One glass jar with a lid
- A pot with a lid
- A food thermometer
- A whisk
- Fresh milk
- Some store bought yogurt with the least additional ingredients
- An oven with a light or cooler and hot water bottles
Instructions:
- Fill the jar with milk leaving an inch and a half of head room
- Pour the milk in the jar into the pot and slowly heat to 180℉ or 82℃
- Maintain temperature for 20-30 minutes
- Pour the milk back into the jar
- Wait until milk is below 115℉ or 46℃
- Stir in enough store bought yogurt until it comes to ½ an inch from the top
- Place the lid on the jar and put into the oven with the light on or into the cooler with the hot water bottles
- Wait 6-12 hours until it has thickened
- Refrigerate the yogurt for at least two hours before trying it.
How to make kefir for total beginners
Kefir is absolutely the easiest fermentation there is. There is no heating of the milk, incubating at specific temperatures and a wide variety of milk or milk substitutes can be used.
You will need:
- A glass jar with a lid
- An elastic band
- One piece of cotton cloth
- A whisk
- Store bought kefir
- Any milk of your choice
Instructions:
- Fill the jar with fresh milk leaving 2 inches of head room
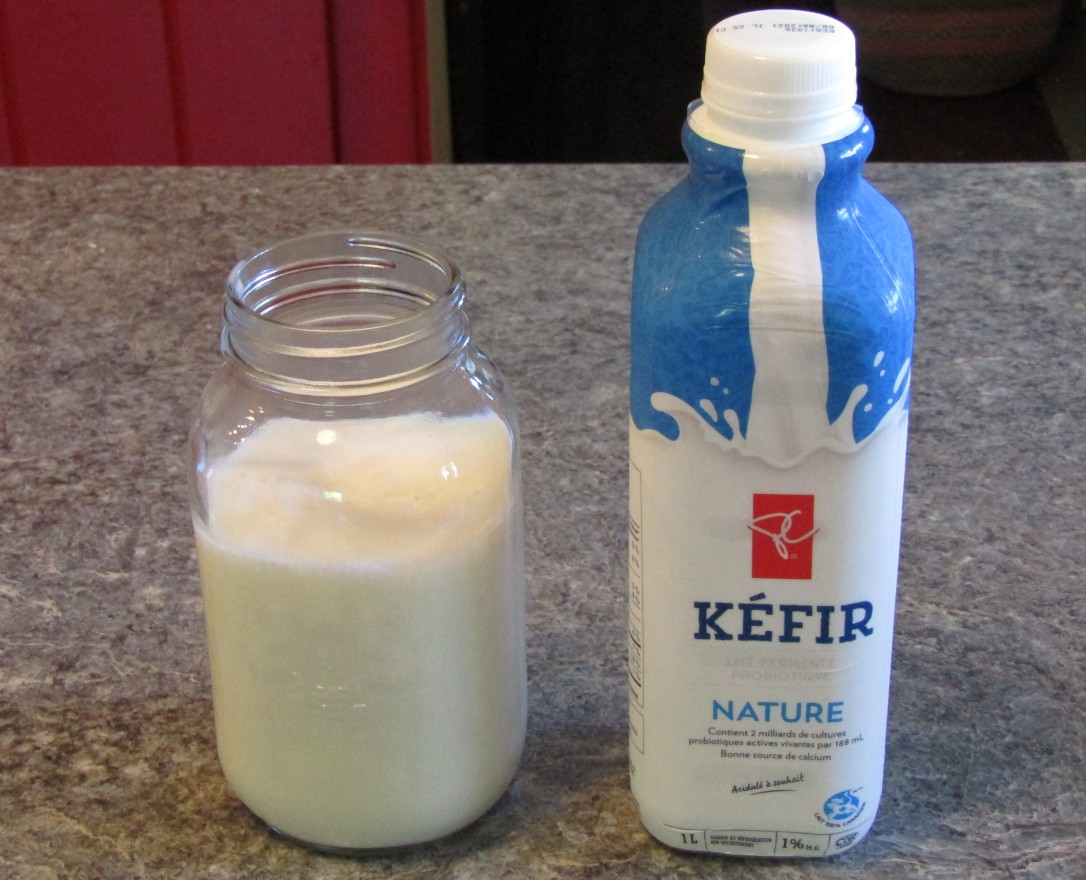
- Place ¼ cup or so of store bought kefir into the jar

- Whisk the milk and kefir together
- Place the cloth over the top of the jar and secur it with the elastic band

- Place it in an out of the way location for 12-24 hours
- Once the kefir has thickened replace the cloth with a lid and store in the fridge
How to Start making Lacto Fermented Vegetables
Lacto Fermentations are still very easy to make although they require some calculation to ensure a quality product. Lacto fermentations use lactic acid bacteria (LAB) which flourish in anaerobic (no oxygen) environments and are very salt tolerant.
Knowing this makes it easy to understand why fermentations like sauerkraut can be made with the assurance that they will be healthy and taste great. All you need to do is control these two conditions.
The anaerobic environment is easy, put the vegetables in a lidded jar with enough liquid to submerge them. Make sure you relieve any pressure which builds up inside the container by either using an air lock system of some type or burping the jar regularly. .
The Salt should make up at least 2.5% of the fermentation by weight to ensure mold and unwanted bacteria do not grow. Salt also helps to keep vegetables crisp and adds flavor.
You can do this in two ways:
- Use the weight of water which would fill the container
- Weigh the container after it has all ingredients besides the salt and calculate the required salt.
How to Make SauerKraut For Total Beginners
Sauerkraut is the simplest lacto fermented vegetable fermentation there is. There are two ingredients in basic sauerkraut, cabbage and salt. Additional spices can be added like caraway seeds, garlic or dill but they are unnecessary for fermentation to occur. There are thousands of recipes online for this lacto fermented classic but start by making this simple recipe. Once you have been successful then try some new flavors.
You will need:
- A nonreactive container such as a flip top jar, fermentation crock or mason jar
- A kitchen knife
- Kitchen scale
- Cutting board
- One head of cabbage
- Salt
Instructions:
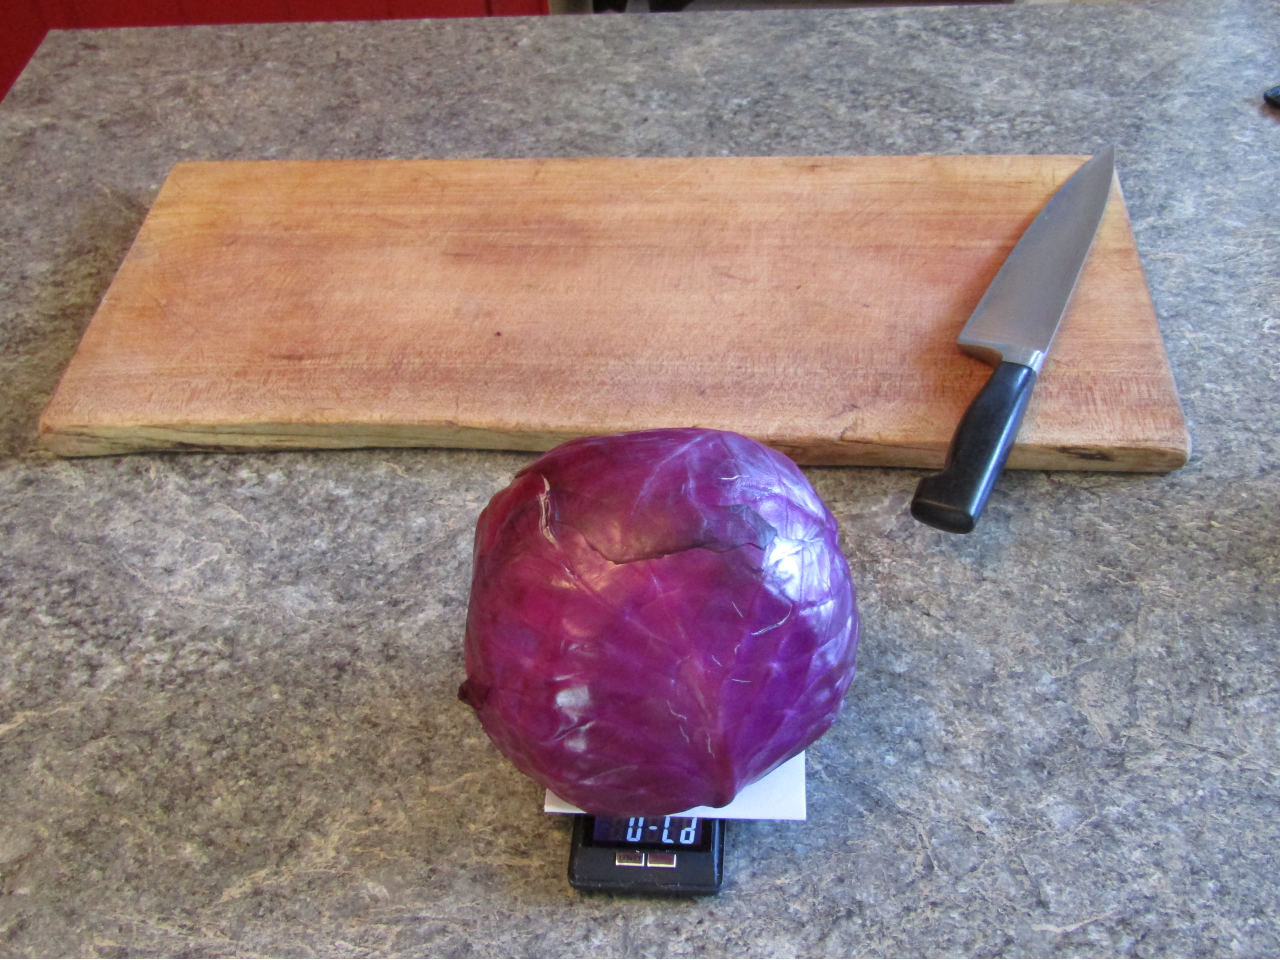
- Trim the end of the cabbage and remove any outside leaves
- Weigh the cabbage on a kitchen scale
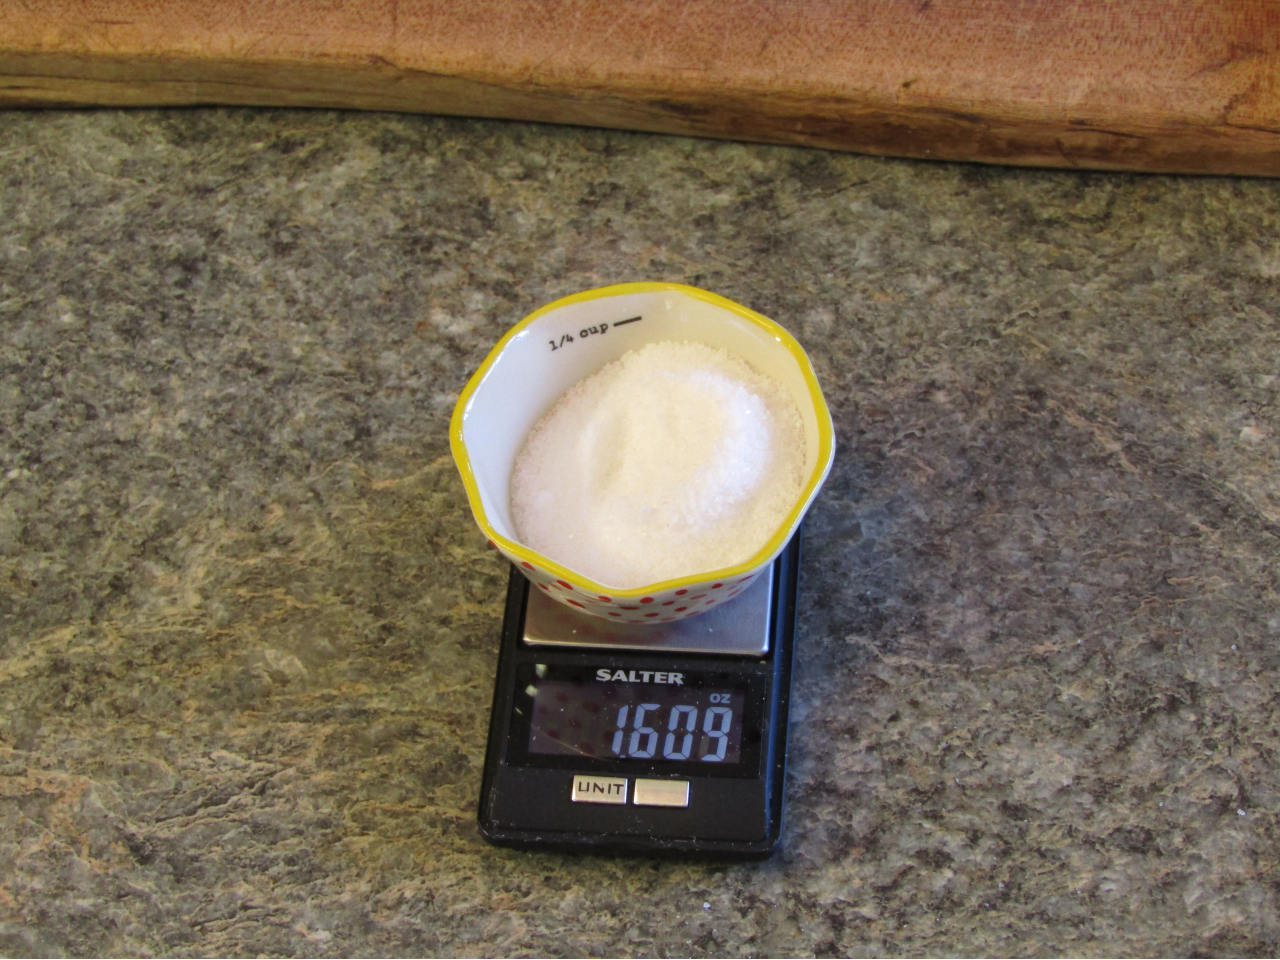
- Measure out the salt (weight of cabbage X 0.025 = amount of salt needed)
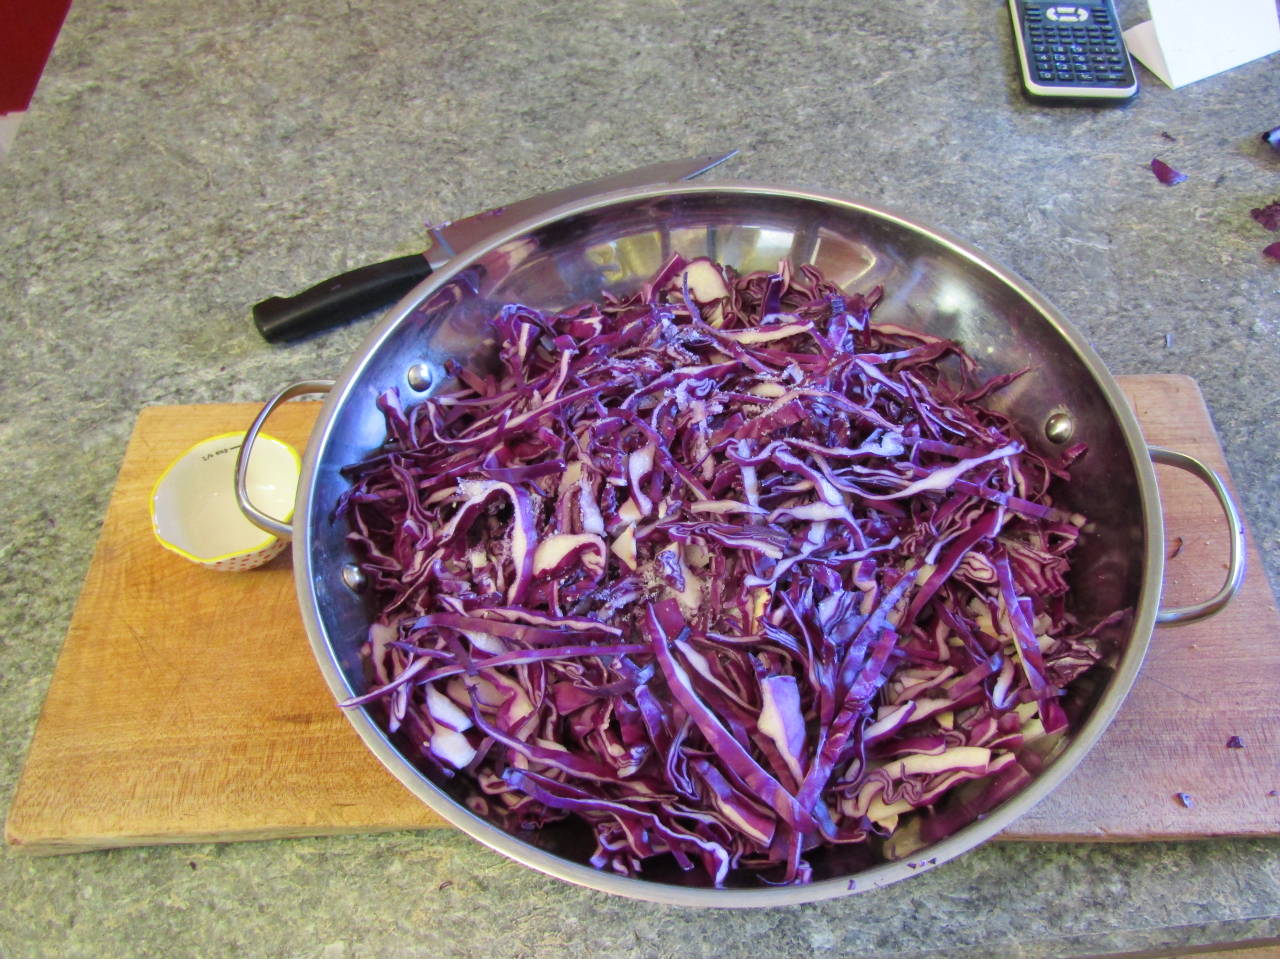
- Slice the cabbage into roughly even slices
- In a large bowl mix the salt and cabbage together and knead until combined
- Let sit for 15 minutes to allow the salt to begin to drawout the liquid in the cabbage
- Pack the cabbage into your fermentation container submerging the cabbage below the liquid
- Seal the container and place it in a cool dark location
- If using a mason jar or other container which does not release pressure burp the container every day or two
- After two weeks try some to see how it is coming
- Move to the fridge once it reaches the level of fermentation you like


Note:
If you are using a mason jar you will have to seal it in some way which allows carbon dioxide to escape to avoid potential explosions and injury.
How to Make Pickles For Total Beginners
Pickles have their own set of challenges. They should be crunchy, tangy and brightly colored but cucumbers which contain large amounts of water and very little hard cellulose material which maintains their structure.
There are more recipes on line for crisp pickles than anyone could ever read. The ingredients include “secret” ways to keep pickles crispy, maintain their color and make the most tangy and delicious pickles ever.
All these recipes have a few things in common:
- High salt concentrations of Brine
Pickles are traditionally made using a brine solution which is between 3.5-5% salt by weight. This brine does not take into account the weight of the pickles. It is only the weight of the water so the higher concentration of salt in the water makes up for the additional water from the pickles which dilutes the brine as the pickles ferment. The higher the salt concentration the more water will be drawn out of the cucumbers during the first stages of fermentation making the pickles crispier.
To easily calculate the amount of salt needed for a batch of pickles simply determine the weight of the water it would take to fill the jar. This is a fairly consistant weight (it does vary a little with temperature and altitude) but for your purposes it will work fine.
Water weighs 8.33lbs per gallon so if your container holds a quart of liquid then divide 8.33 by four to get 2.08lbs. calculate a 2.5% brine to get 0.6656 ounces (after converting lbs to ounces). Since cucumbers are less dense then water you will have ample salt by weight to keep the mold growth under control.
- Additions of some type of tannin
These include bay, grape, black tea or oak leaves. Tannins help to keep the cucumbers crunchy by preventing the breakdown of the cell walls in the cucumber.
- Cool temperature fermentation
This slows the fermentation process down, giving the salt in the brine time to remove some of the water from the cucumber and preventing unwanted mold and bacterial growth.
It is mold which can degrade the cellulose in vegetables. Mold is able to break down the complex carbohydrates which make up the structure of the vegetable. By preventing mold growth at the first stages of fermentation the pickles remain firm.
- Longer fermentation time with a cool temperature
A cool fermentation temperature prevents mold from growing in the fermentation and allows the salt in the brine to draw out the most amount of water.
Since the cooler temperature slows the growth rate of the LAB the fermentation time needs to increase. Once they have consumed the bulk of the sugar in the cucumber the fermentation will slow but the pickles will remain firm.
- The addition of some sugar
Refined sugar to LAB is like nitrogen fertilizer to plants. It makes them grow fast. Giving the LAB a little sugar in the brine increases the potential acid production and reduces the amount of time it takes them to dominate the culture. This makes for more tangy pickles with less chance of off flavors appearing.
- Cut the blossom end of the cucumber off
The blossom end of the cucumber is rich in yeast species due to the pollinating insects which visited the flower. By removing this section of the cucumber the yeast population will be lower and less varied leading to crisper pickles.
- Stab the cucumbers several times or cut them into pieces
This enables the salt in the brine to draw out more of the water in the cucumbers prior to fermentation. This leads to firmer pickles with less yeasty flavors.
You will need:
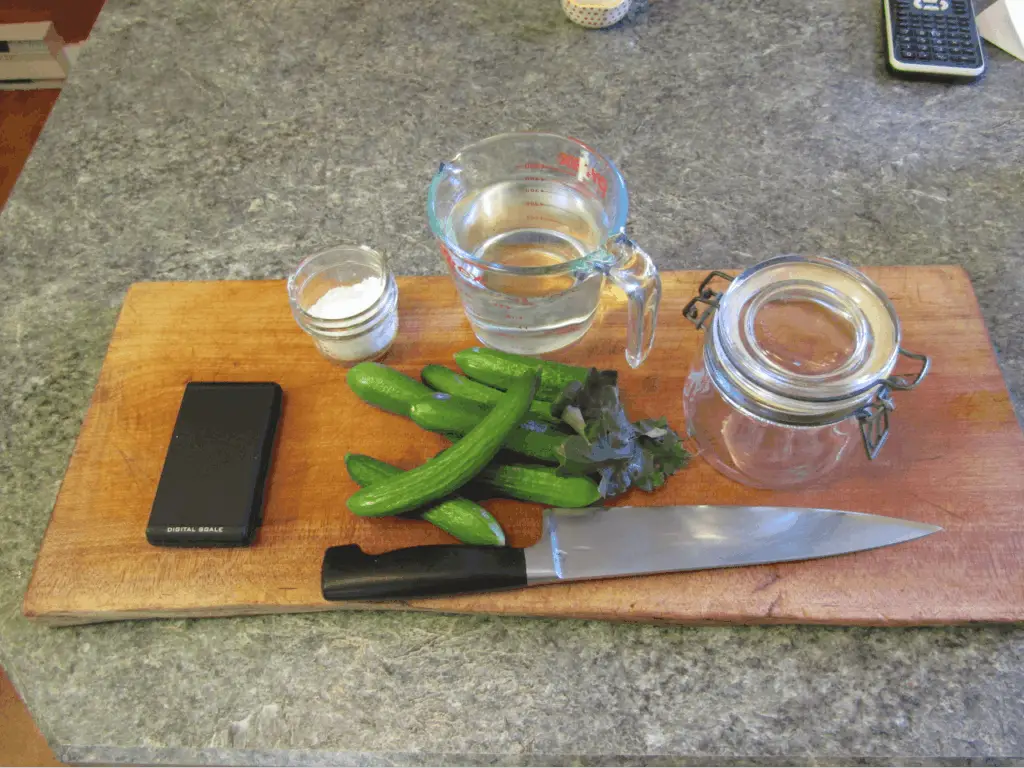
- A jar with a lid
- A cutting board
- A knife
- Kitchen scale
- Enough cucumbers to fill the jar leaving an inch of headroom
- Some type of leaves to add some tannin
- Water
- Salt
Instructions:
- Wash the cucumbers in water
- Cut the ends off each of the cucumbers
- Slice the cucumbers in half lengthwise
- Load the cucumbers into the jar and fill with water leaving an inch of headroom
- Calculate 2.5-3.0 salt concentration by weight of the water
- Add the salt and place the lid
- Add the leaves for tannins
- Shake the jar until the salt dissolves
- Open the jar and ensure all cucumbers are under the liquid
- Place the jar in a cool location out of the sun
- Burp the jar daily while the fermentation is active
- After two weeks try your pickles and refrigerate when they reach the flavor and texture you like
How to Make Pickled Carrots For Total Beginners
Carrots are full of sugar which makes them ideal candidates for fermentation. The LAB will consume the sugar in the carrots and produce ample amounts of lactic acid. Since carrots are hard root vegetables they hold their crispy texture longer and under less ideal situations.
This makes them great for a beginner fermentation project.
You will need:
- A knife
- A cutting board
- A non-reactive container
- A kitchen scale
- Enough Carrots to fill the container with an inch or so of headroom
- Water
- Salt
Instructions:
- Cut the carrots up so they will fill the jar leaving an inch of headroom
- calculate the amount of salt needed for a 2.5% water solution
- add enough water to cover the carrots
- add the salt
- shake the jar untel the salt is disolved
- place in a cool dark location
- if the jar is not pressure safe burp the jar daily to prevent carbon
- Follow the instructions of how to make pickles above starting at step three
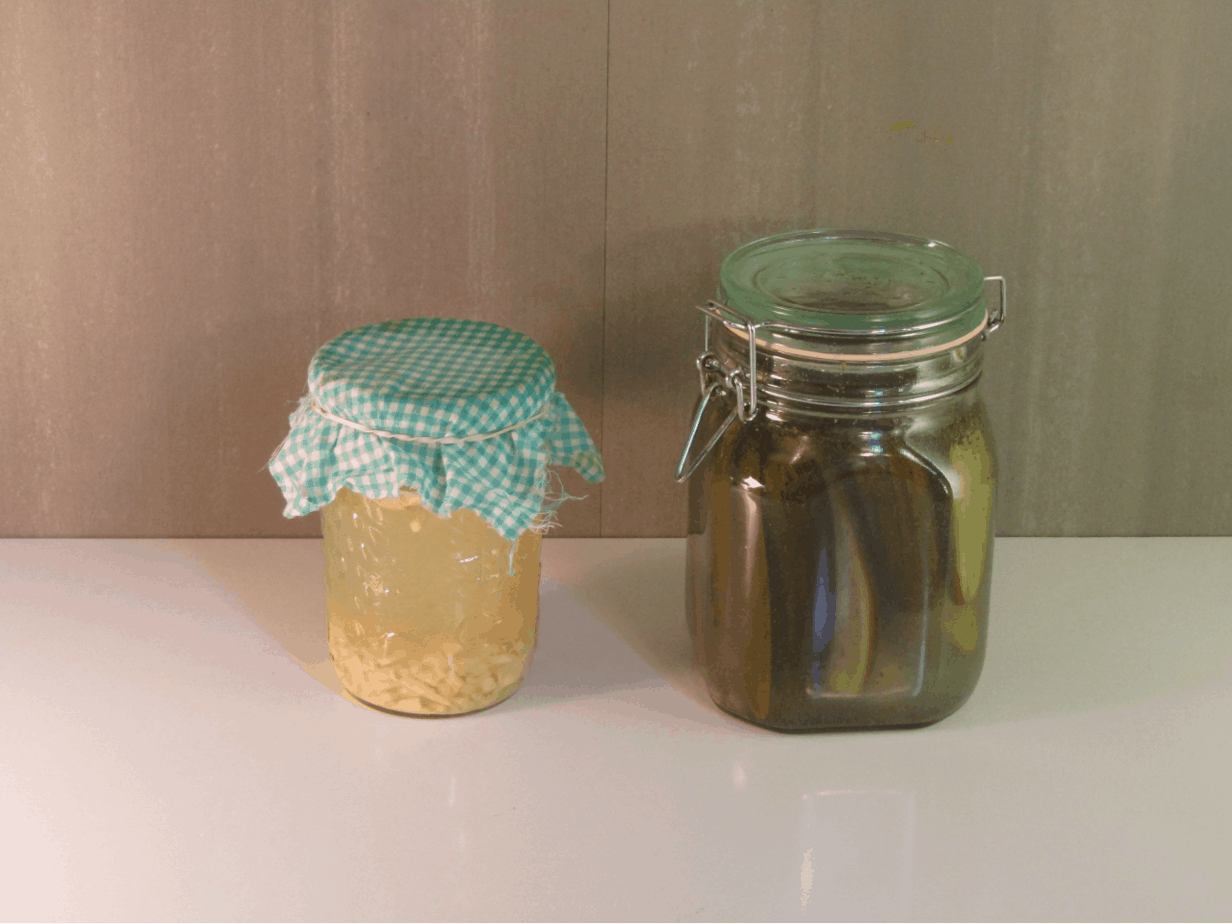
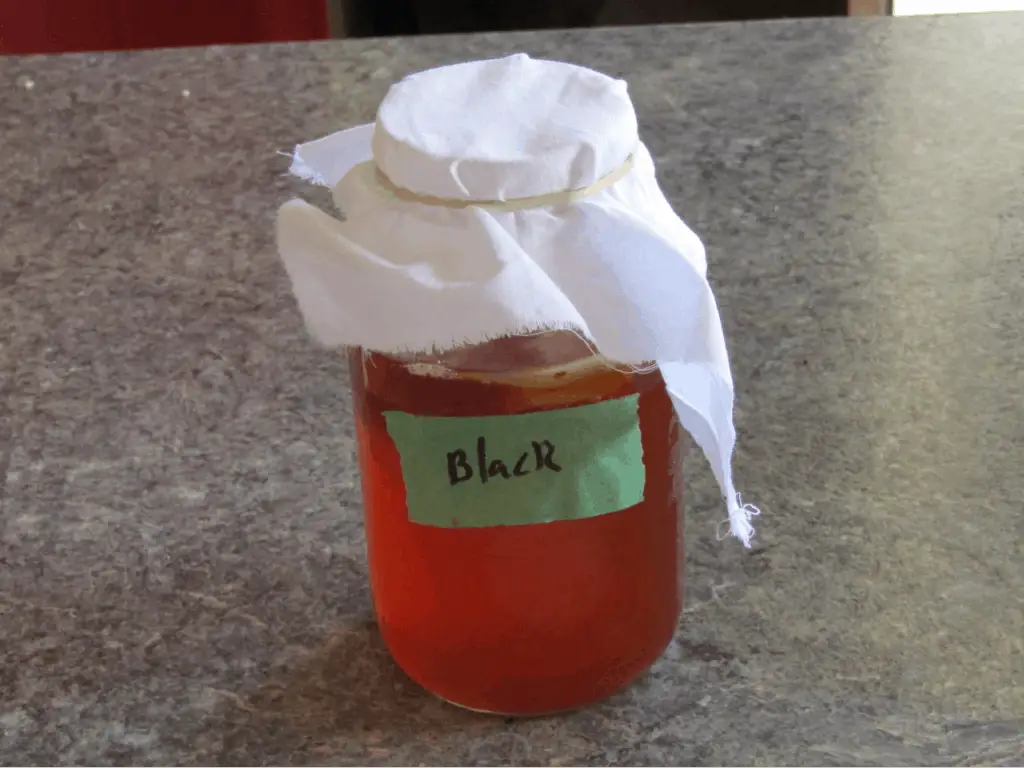
How to Make Kombucha For Absolute Beginners
As I mentioned in the introduction, kombucha was my first fermentation and I still make a large batch of my regular kombucha every two weeks or so. I am also experimenting with new and different flavors, methods and infusions.
Kombucha is not hard to make once you understand the processes which are taking place and how to work with the culture. Kombucha is unique in its culture makeup as it contains all three of the main fermentation microbial species:
- Yeasts
- Acetic acid bacteria
- Lactic acid bacteria
It is an aerobic fermentation which means it needs oxygen and uses the backslopping method to instigate fermentation.
You will need:
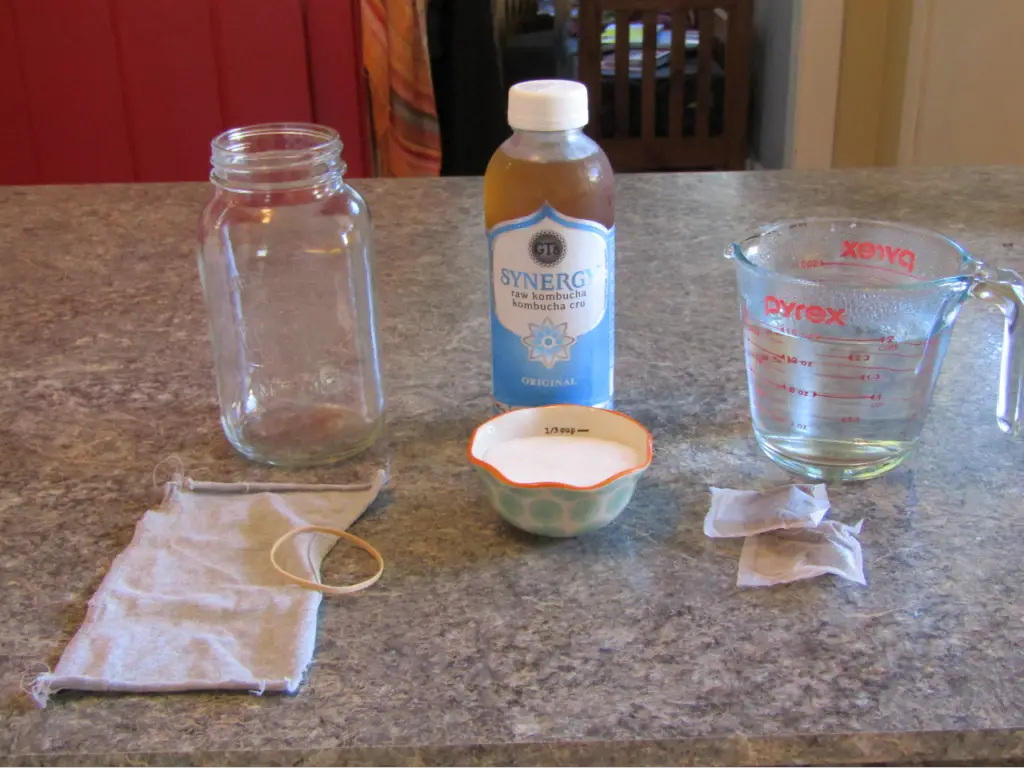
- A one quart sized clean glass jar
- A clean cloth with an elastic band
- A bottle of raw plain commercial kombucha
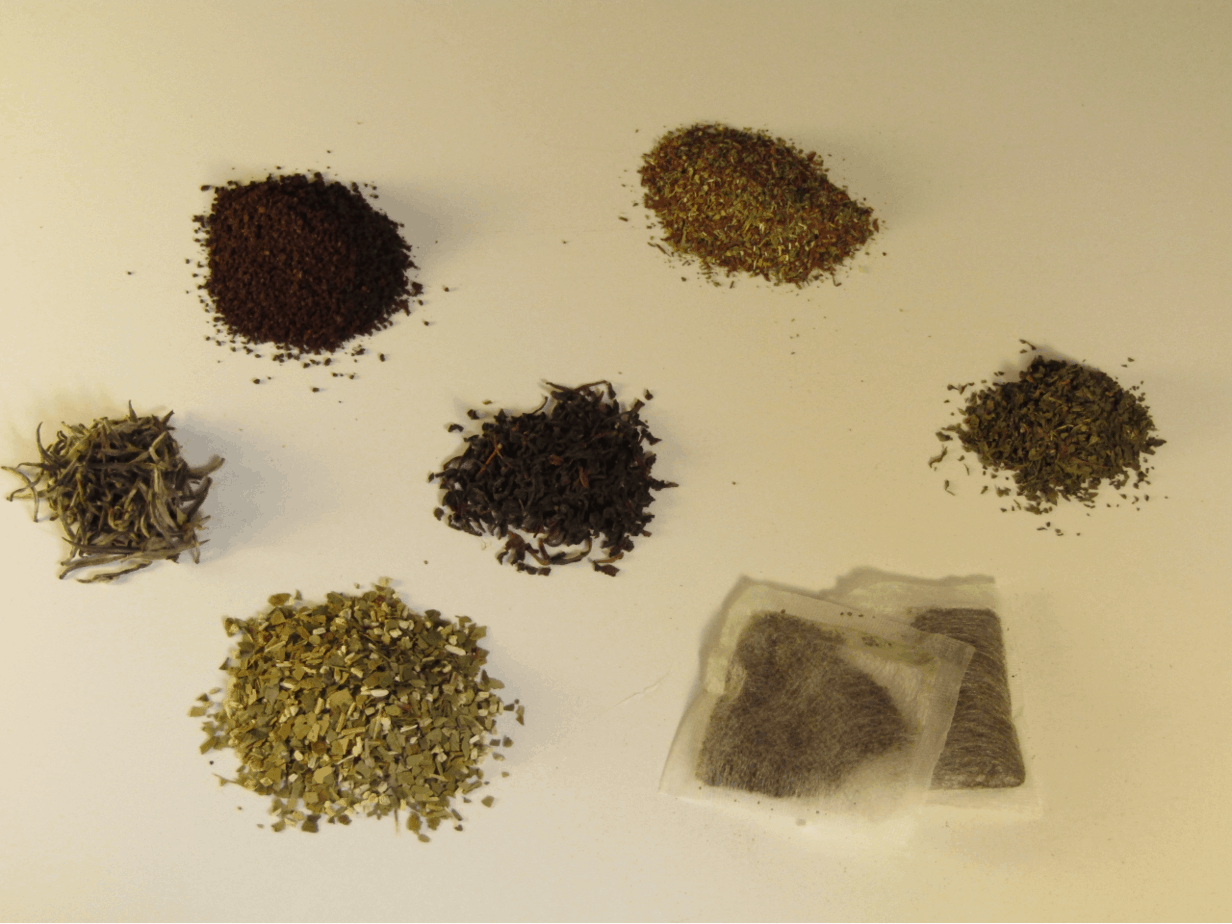
- |One Tablespoon of tea loose leaf or two or three tea bags of your choice (start with black or green tea)
- 1/3 cup of sugar
- Water
Instructions:
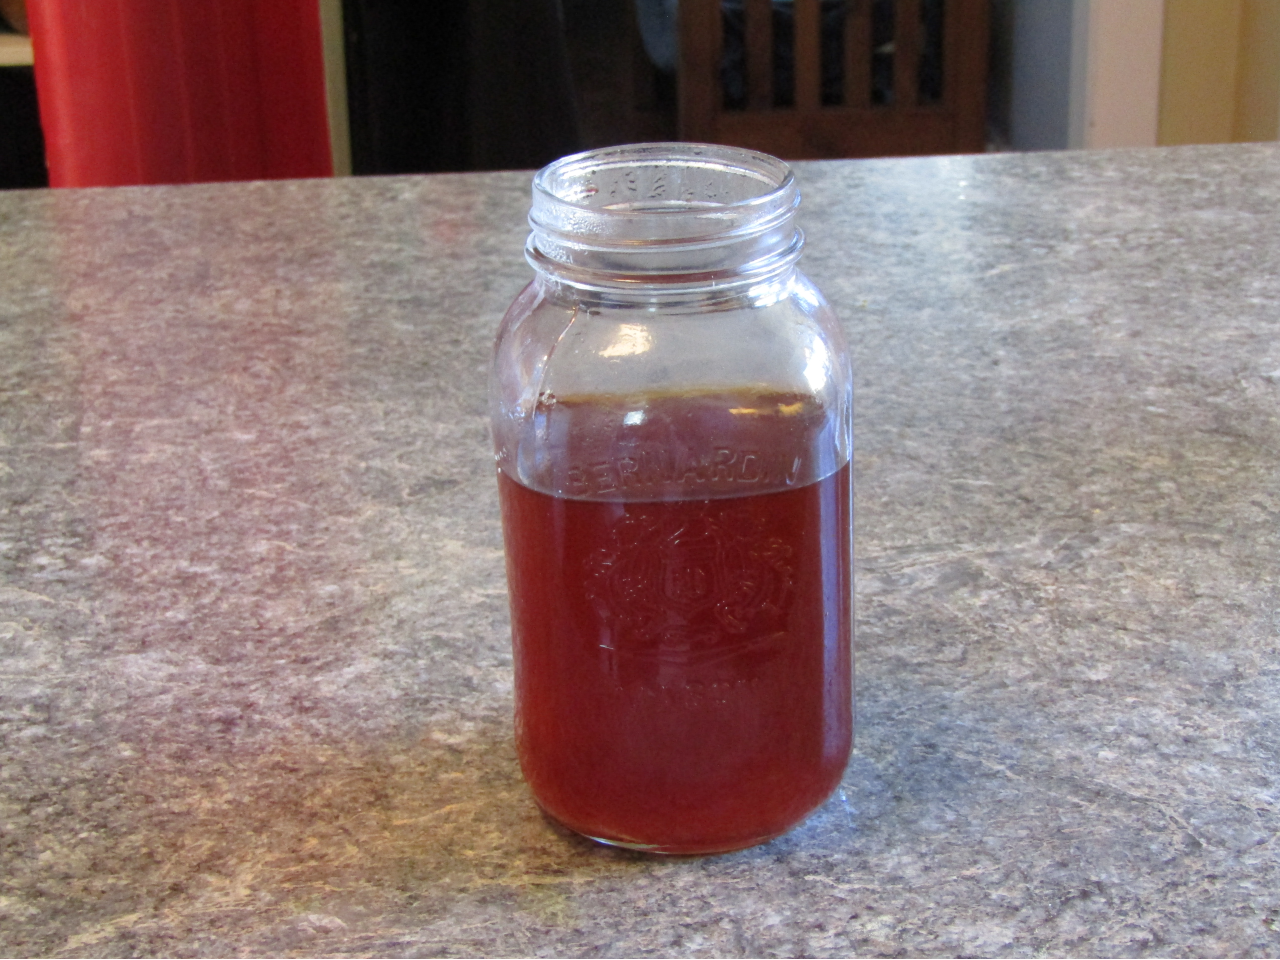
- Make enough tea to fill the jar ¾ full
- Remove the leaves or bags after 5 minutes
- Add the sugar
- Let cool to room temperature
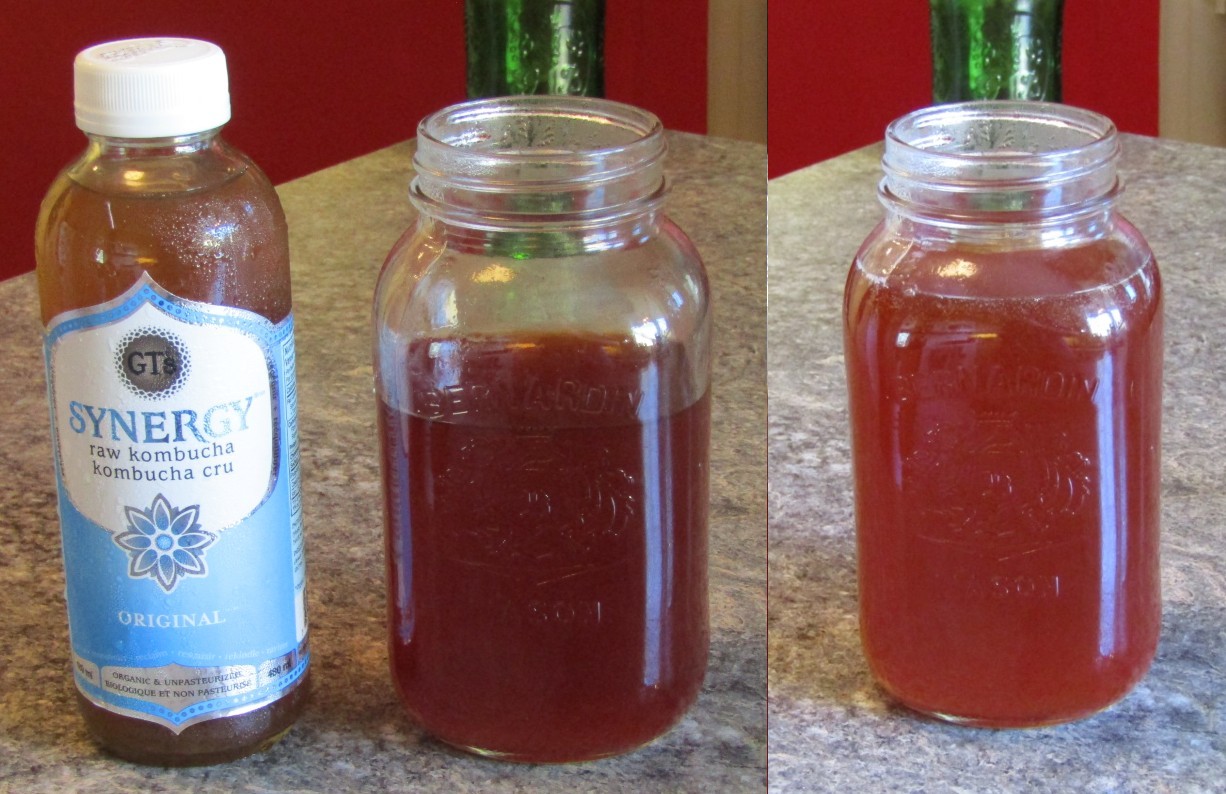
- Add the commercial kombucha to fill the jar
- If you find a SCOBY in the jar add it as well
- Place the cloth on the top of the jar
- Wait two weeks for the kombucha to acidify


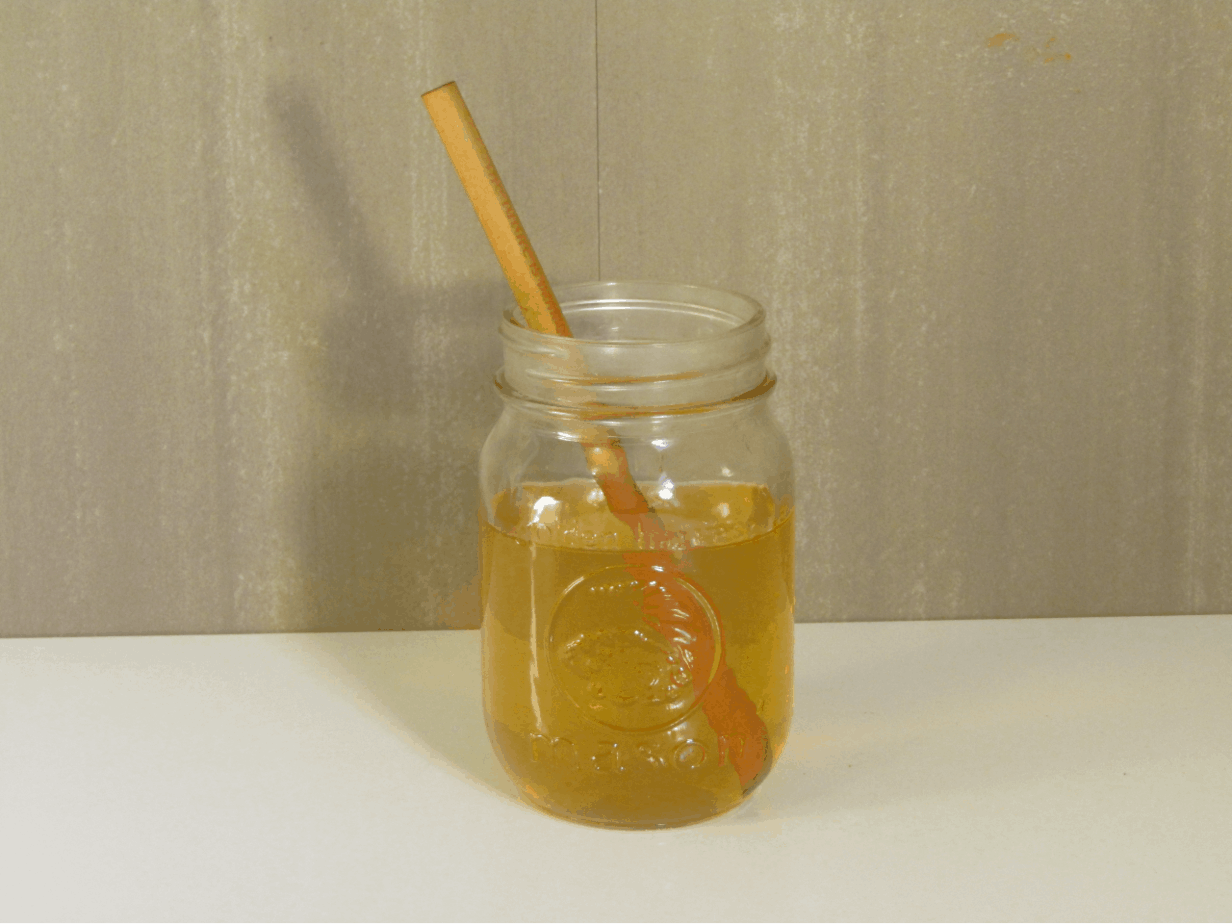
Once the kombucha has acidified you can drink it plain or make it into kombucha soda. Be sure to save the SCOBY and some starter liquid for the next batch.
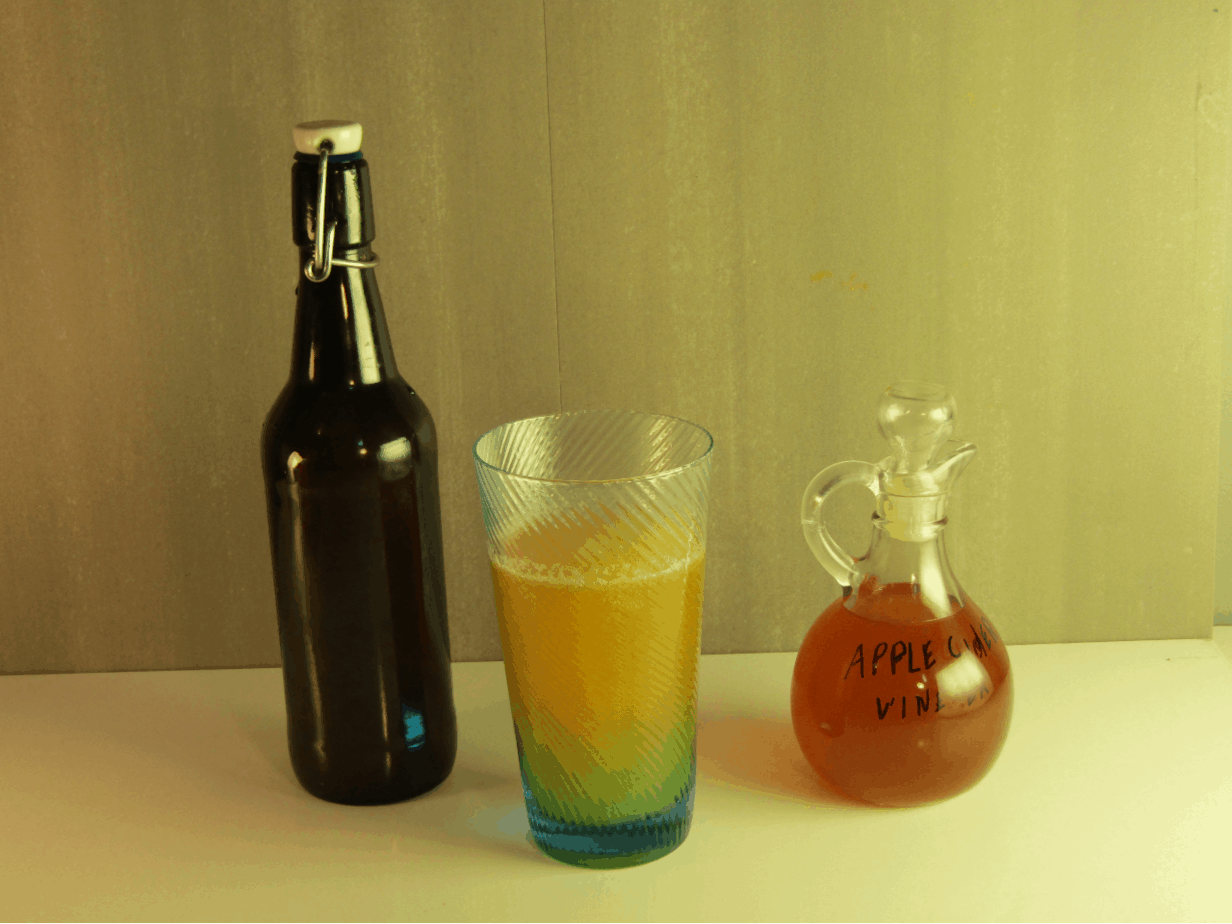
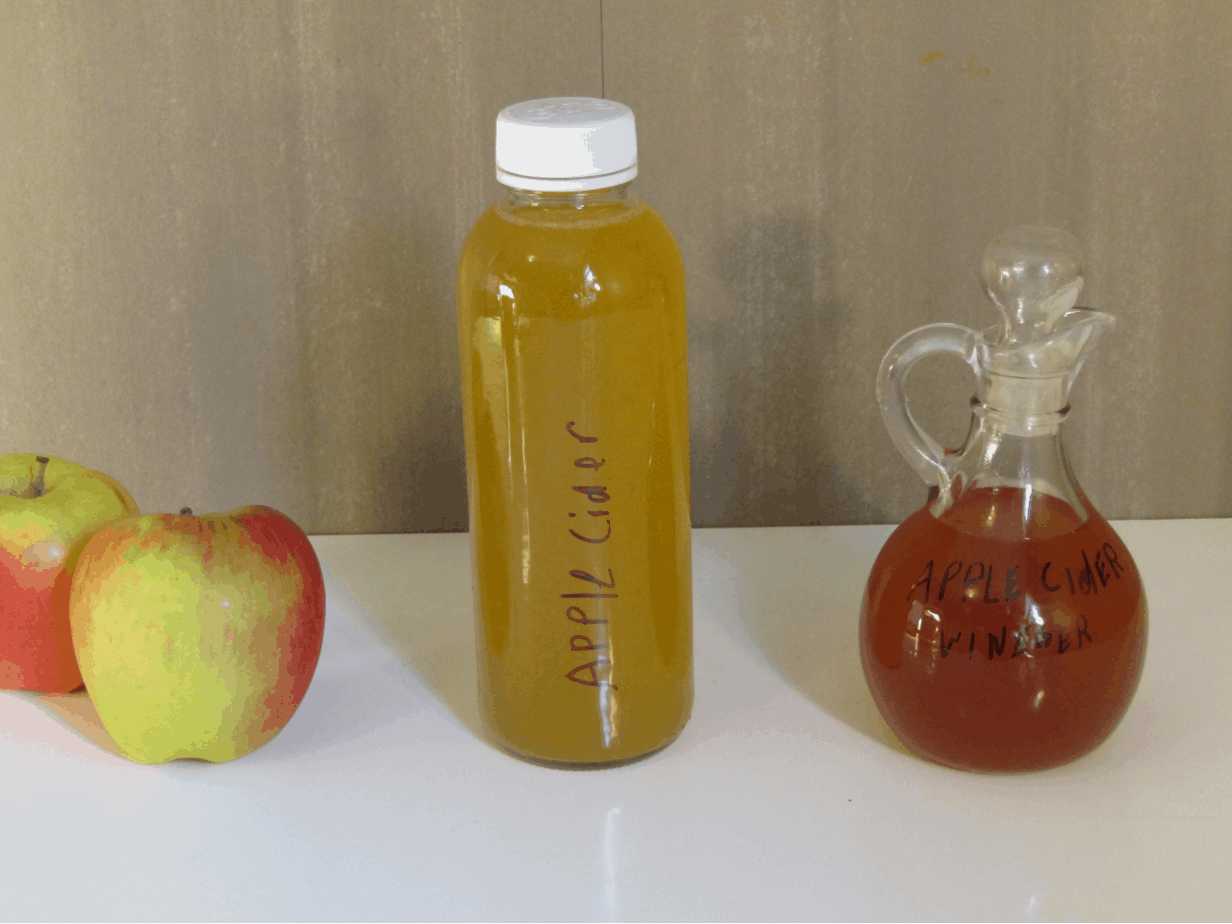
How to Make Vinegar For Absolute Beginners
Vinegar is actually a double fermentation product. It requires the fermentation of alcohol from sugar performed mostly by yeasts and then the conversion of the alcohol into acetic acid by acetic acid bacteria.
Sometimes this happens simultaneously and sometimes it is done in two steps. For this tutorial I will use the second method of starting with some already finished alcohol.
You will need:
- A wide mouthed jar
- A cloth with an elastic band
- A bottle of alcohol with a ABV between 5-12%
- An appropriate type of vinegar
Instructions:
- Fill the jar ¾ full with the alcohol
- Fill the remaining space with the appropriate vinegar
- Place the cloth over the top of the jar and secure with the elastic band
- Place in a location out of the sun
- Wait
This method of vinegar making is slow and can take up to to six months before the vinegar is ready. In that time a vinegar mother may form on the surface of the liquid. This cellulose formation protects the vinegar from contamination as well as helps with oxygen exchange.