
This post contains affiliate links.
Shortly after you start making kefir on a regular basis you may find your grains growing and will have to remove some from the jar. To ensure you have a backup set of grains it is a good idea to store some of these extra grains. This can be done by freezing them but to ensure they survive here are a few suggestions.
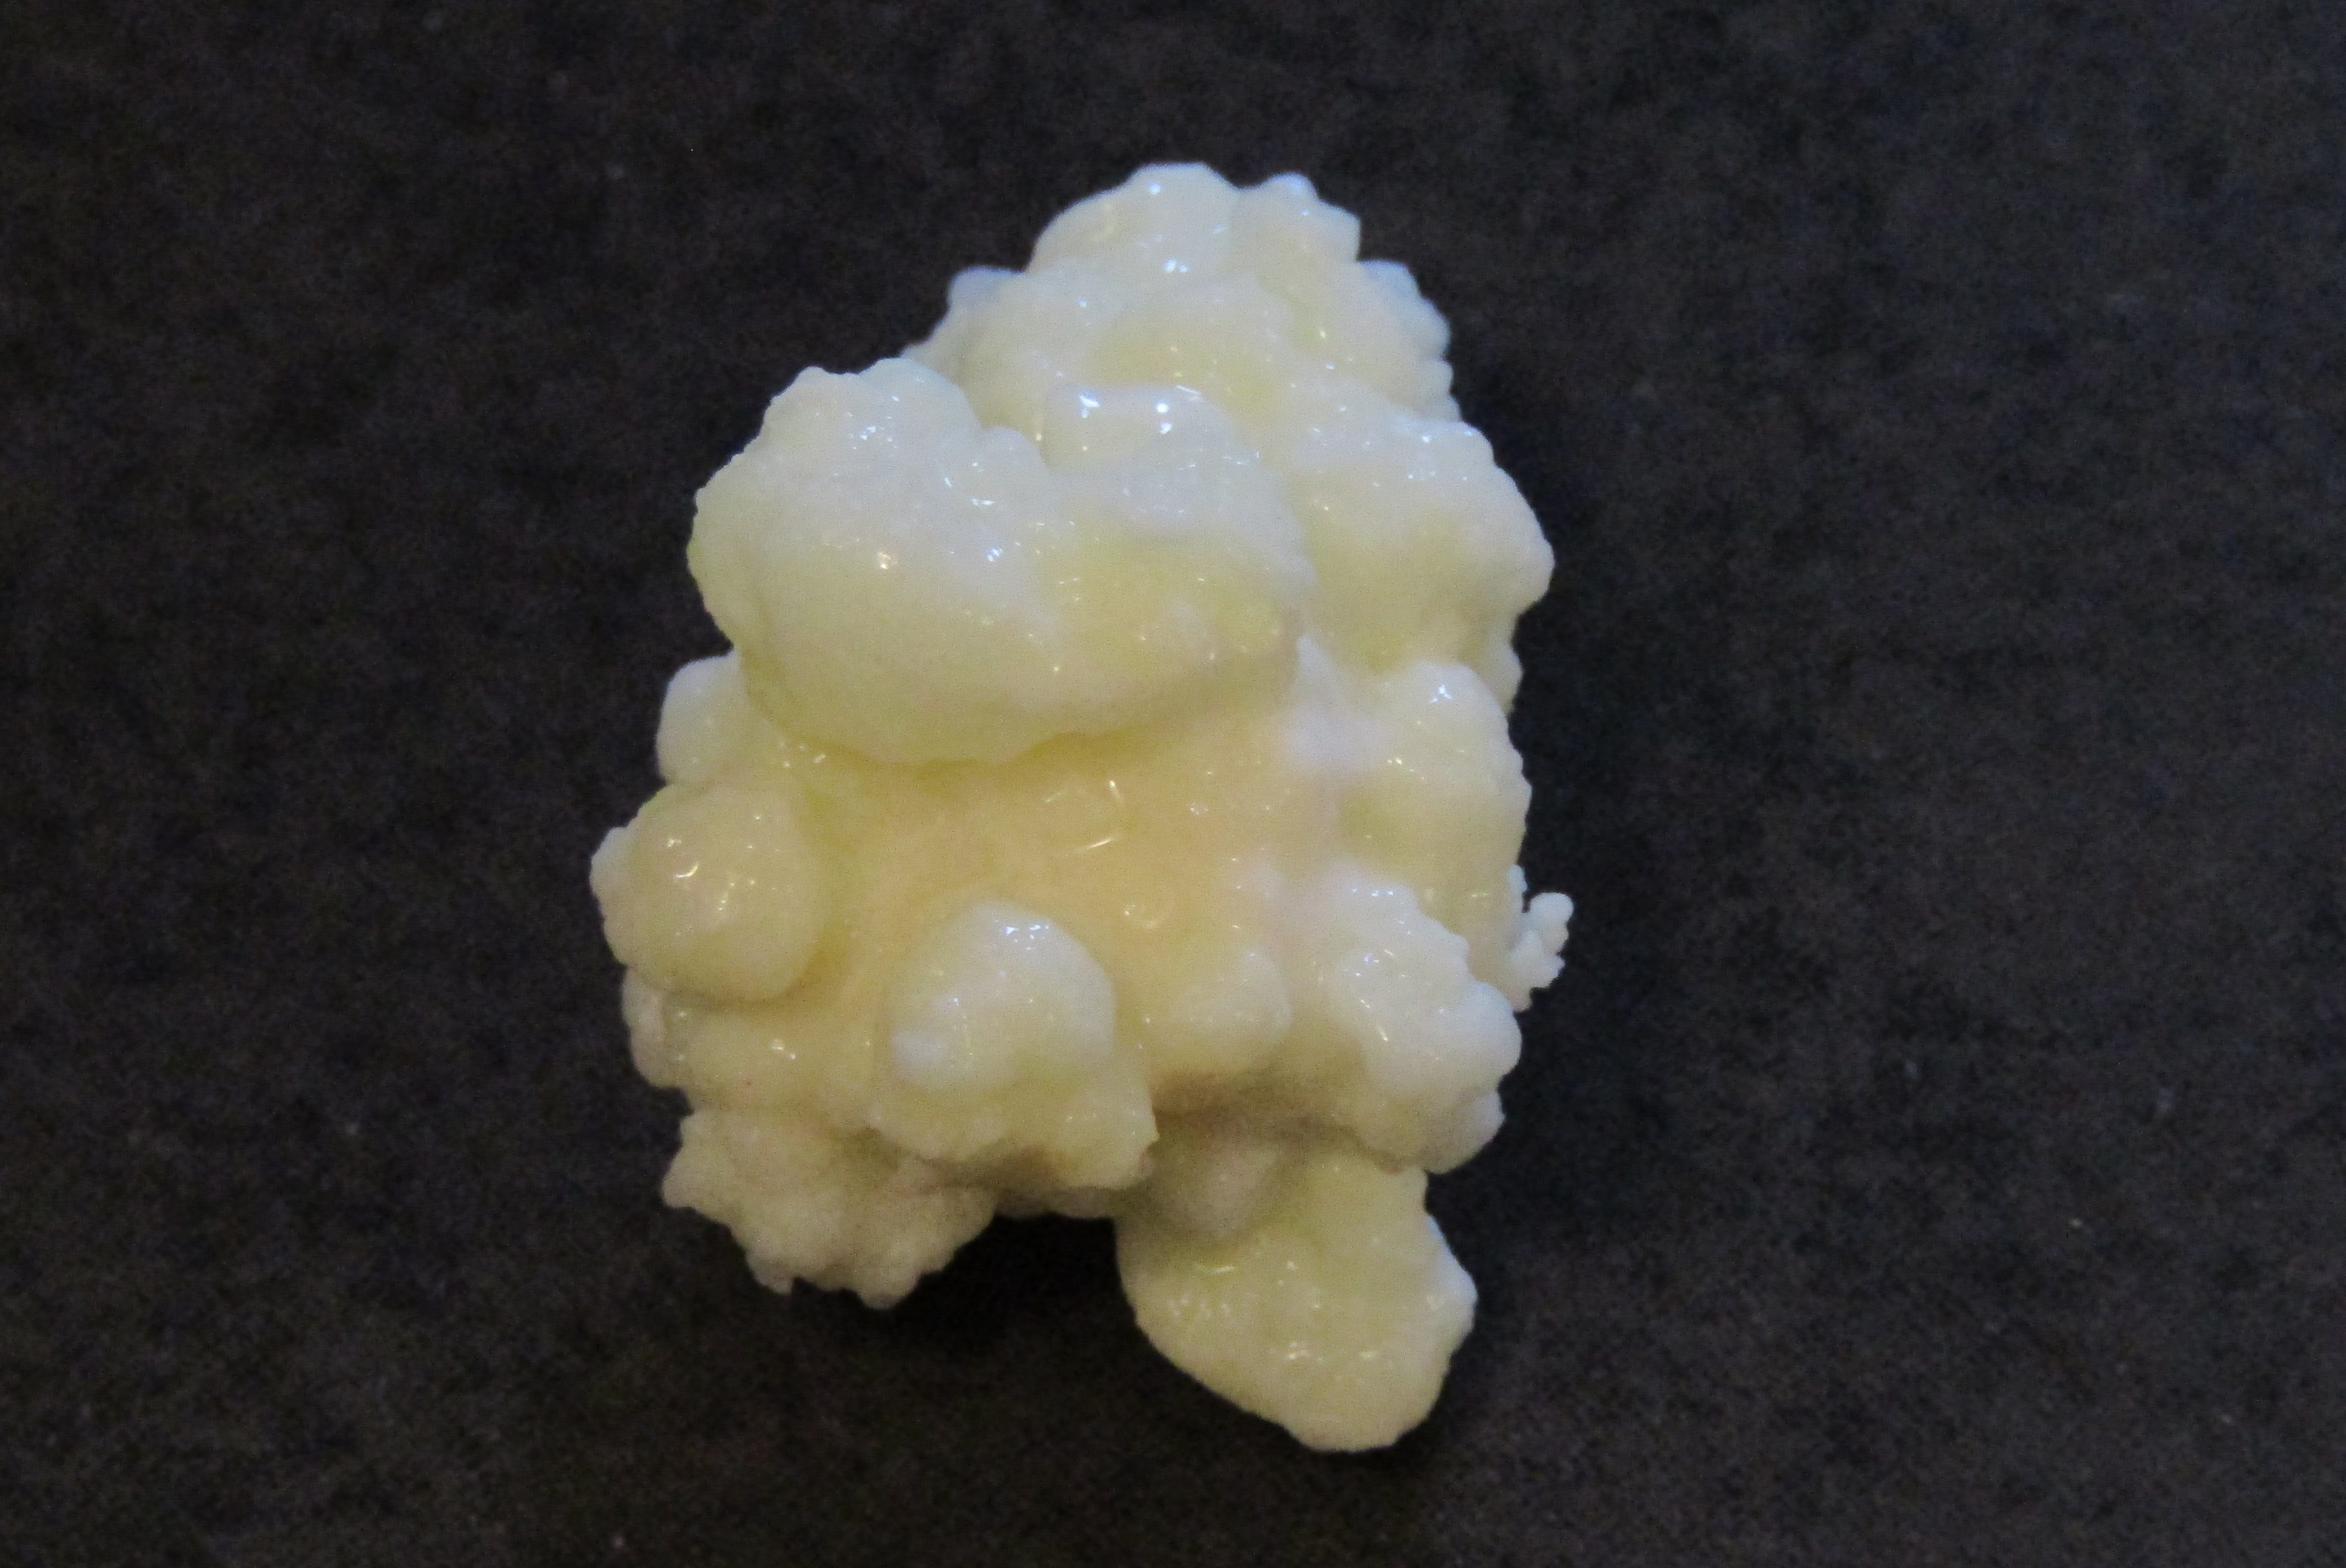
Kefir grains are made of polysaccharides, lipids and fat and inhabited by yeasts and bacteria. Frozen yeasts are most viable at temperatures below -4˚C but can survive temperatures of -20˚C. Bacteria can withstand -20˚C without significant damage making freezing kefir grains for storage viable.
Although freezing kefir grains can work for longer term storage there are some steps which will improve the viability of the kefir grains after thawing. The survival rates of the three main components of the grains need to be maximized to ensure fast recovery of the grains.
Two ways yeasts are frozen for storage.
- Frozen as active yeast
- Frozen after dehydrated
When you freeze kefir grains most of the yeasts are active yeast. The grains are fully hydrated which means they are consuming sugar and producing alcohol. This is a difficult time to freeze the yeast. When water freezes it forms crystals which can damage the cell structure making the yeast body no longer viable.
Alcohol and liquid sugar act as anti-freeze, preventing the water molecules found within the yeast from crystalizing and damaging the cell but as the temperature falls more and more water crystals form. The colder the yeast gets the fewer yeast bodies survive.
When yeasts are dehydrated three things which happen which improve the survival rate of frozen yeast.
- There is less water in the cell to crystalize and damage the cell
- When yeast lacks water the metabolic processes are suspended
- The genes responsible for protection against dehydration activate generating proteins which are tolerant to low hydration
This is what happens to Bacteria when frozen
Bacteria is very cold tolerant. Able to survive long periods of sub-zero temperatures. The cell walls of bacteria are more resistant to damage from the ice crystals This increases their viability when they are thawed. When the water solidifies it releases glycerol into the cell which acts as an antifreeze helping the structure of the cell to remain intact.
Once the temperature gets low enough salts begin to form which damage the cell’s DNA which can kill the cell when it is thawed. Some cells do not survive the freeze thaw cycle so if the culture is repeatedly frozen and thawed there may not be enough live cells left in the kefir grains to be safely used.
The length of time bacteria are frozen does not significantly affect the viability of the culture but the number of active cells is the main factor in culture survival.
Four methods of freezing kefir grains and how they work
The strain, add milk and freeze method
This method is based on the idea that the cultures in the kefir are still active at temperatures of -4 degrees C (the temperature of most fridge freezers) and to some degree that is true. Some bacteria’s metabolism is still active at these temperatures but the yeast cultures are less robust when frozen from a fully active state.
When the yeast is fully active it has a high hydration level which leads to high level of water crystals in the cells which can damage it beyond repair upon thawing. Although the warmed culture will have access to food energy shortly after thawing from the milk they were frozen with this will not make up for the damage caused during freezing.
This method works for short term storage of a month or so but should not be relied on for longer term storage.
The strain rinse and dry method
Here are the steps for this method:
- Strain the grains from finished kefir
- Rinse the grains in non-chlorinated water
- Pat the grains dry and air dry for at least an hour
- Place the grains in a plastic bag with some powdered milk
- Put the bag in the freezer
This method is more reliable then freezing fully hydrated grains. The yeasts which are mostly present on the outside of the grains get a chance to dry out with the air drying. This reduces the amount of water within the yeast cells preventing damage from water crystal formation.
The powdered milk provides food for the bacteria which still require energy at fridge/freezer temperatures and provides energy while the grains thaw.
Deep freeze method
This method has a high chance of success for longer term storage. The grains need to be prepared like the strain rinse and dry method. For best results let the grains dry for 24 hours before freezing them. This gives the yeasts time to produce needed proteins which act as anti-oxidants within the cell. This increases the survival rate of the yeasts.
As the yeasts dry they may sporulate which provides the spores for new yeasts to grow once the temperature rises again.
The deep freeze method also provides a consistent cold temperature rather than cycling warm and cold as the refrigerator goes through its defrost cycle. This improves the number of bacterial cultures which survive the freeze thaw cycle.
Dehydration and deep freeze storage
This is a combination of two methods.
- Dehydrating the grains
- Cold storage
To dehydrate your extra grains you can use a dehydrator set at the lowest setting or simply spread them out on some wax paper until dry. Once you have dehydrated your grains store them in the deep freeze in a plastic bag with some powdered milk.
When you dehydrate the grains the yeast which is present has little water within the cell minimizing the damage caused by freezing. As the grains dry the yeasts will run out available energy. This causes the yeast cells to sporulate providing spores which grow once rehydrated.
Even though the grains are dry does not mean they are totally inactive. Dehydrated grains should then be frozen. This slows the action of the cultures further and increases the survival rate.
How to revive your grains for best results
When you need your extra grains it is important to thaw them correctly to improve the chances of success and limit the time needed to fully reactivate the grains.
When coming out of hibernation the cultures in the grains need energy and minerals to repair the damage incurred by freezing. Depending on the method used to freeze the grains and the length of time they were frozen their recovery time changes.
Fully hydrated yeasts have the least chance of recovery so provide them with high simple sugar milk like skim or 1%. The higher the milk fat the less sugar will be available to the yeast cultures. If your grains have been frozen for 6 months or more you could add some sugar to the milk before adding the kefir grains.
If the grains were dried in any way then they will recover quicker and more of the yeast cells will be viable upon thawing. This will help the grains to reach an equilibrium faster.
When the grains have been stored for a long period of time most of the yeast cells will not recover. This is why drying the grains improves their viability. If the yeast cultures have had a chance to sporulate then those spores will reactivate once they are placed in a warm liquid with available sugar. This is why grains frozen for long periods of time take time to produce acceptable kefir.
For best results follow the following procedure:
- Place the frozen grains in a jar with cold milk
- Place the jar in the fridge to thaw for 24 hours
- Once grains are thawed strain the grains out of the milk and add fresh milk
- Place the jar in a warm location on your kitchen for 24 hours
- Continue straining the milk every 24 hours until it begins to thicken
- Once it begins to thicken begin tasting the kefir
- After two weeks if you do not like the kefir flavor discard the grains and get new
Kefir grains are made up of a wide variety of yeast and bacterial cultures. When freezing them some cultures may be more susceptible to damage seriously reducing or destroying some cultures. This can have long term effect on the kefir flavor so if your kefir does not taste good any longer just start again with new grains.