
This post contains affiliate links.
Fermentation has been a part of the human experience since the dawn of time. We have been fermenting things for a wide variety of reasons from food preservation to flavor enhancement and alcohol production. Fermentation is a part of every culture in some way shape or form and has provided us with the ability to survive long winters and hot summers.
If you look at the recommendations for making fermented foods today you will find expensive equipment, toxic chemicals and fear driven marketing designed to make you believe that if you aren’t careful you will poizon yourself unless you buy their product.
Well I am here to tell you that you can start fermenting a wide variety of foods and drinks in perfect safety without all the expensive equipment and sanitation chemicals which are so prevalent in today’s market.
Here is a list of nine different fermented foods you can make with a minimum amount of equipment and little cash investment. Each of these fermentations are great beginner projects. Once you have tried one and you like the result then you can make the decision to invest in more sophisticated equipment if you need and want to.
Some of these fermentations can be made without ever investing in any equipment other than that which you can find in most kitchens already.
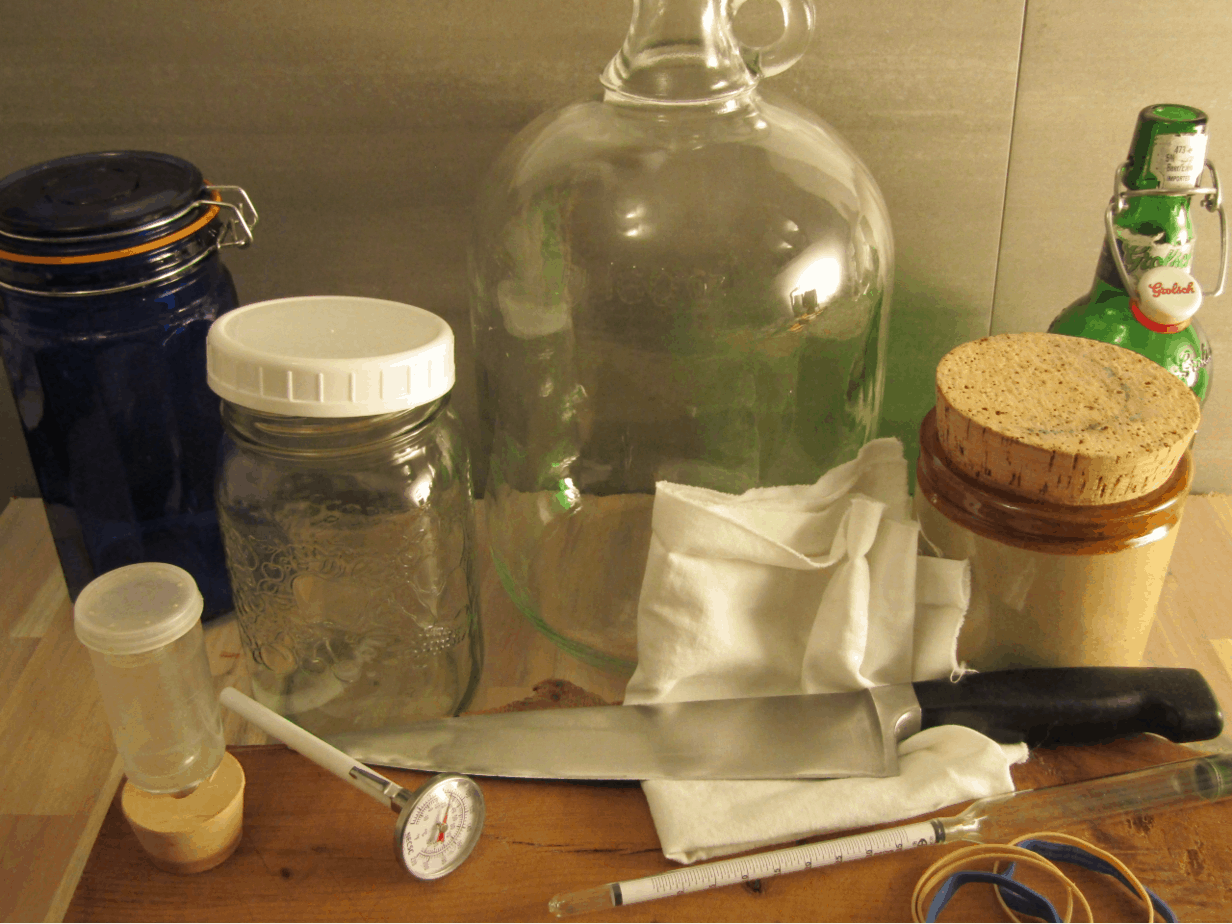
Equipment needed for making Kefir

Kefir is the easiest dairy fermentation to make. You do not have to heat the milk, sterilize jars or incubate the milk at a warm temperature. The process is as simple as adding the grains into a clean jar and pouring milk over them. Leave the jar in a cupboard away from the sun for 24 hours and then strain the grains out of the milk.
- Two non-reactive container like a glass jar
The container only needs to be big enough to hold enough kefir for 24 hours so often a quart mason jar will be sufficient. You will need one to ferment the milk in and one to store the fermented kefir in.
- A tightly woven cloth rag of cheese cloth
Any piece of cloth will do just as long as the weave is small enough to prevent any insects or airborne debris from getting into the kefir.
- An elastic band
- A bowl or other container to collect strained kefir
Use anything which is large enough to hold the strained kefir after it has fermented for 24 hours.
- A strainer to strain out the kefir grains after fermentation
Any strainer which fits into the container you are using to catch the strained kefir will do, it can be plastic or metal. Contrary to popular belief a stainless steel strainer will not react with the kefir or the kefir grains so use what you have on hand.
Equipment needed to make Yogurt
Yogurt can be made from two types of cultures:
- Mesophilic
Mesophilic yogurt cultures can grow in the ambient temperature of most kitchens (between 18-25℃) and therefore can be fermented much like kefir with the exception of having to strain out the kefir grains. Mesophilic cultures make yogurt which is not as thick as commercial yogurt but they have a wide variety of textures and flavors.

- One non-reactive jar with a lid
That is it. That is all. Since all you will have to do is to add some already fermented yogurt into the milk and stir or shake until it is well mixed and then wait for 12-24 hours.
- Thermophilic
Thermophilic cultures grow in warmer temperatures than most kitchens (between 30-35℃). This means that you will have to keep the fermenting yogurt somewhere warm while it incubates and for best results the milk should be warmed before it is inoculated. This means that you will have to have more equipment than for mesophilic yogurt.

- Glass jar with a lid
Any jar will do here just as long as it has a lid which seals and is large enough to hold the right amount of yogurt you will need. Again a quart sized mason jar should work fine but any other non-reactive container will work (including plastic).
- Pot large enough to hold the milk
A non-reactive stainless steel or enameled pot is best here. Copper or cast iron pots can leave trace amounts of metal in the milk which can add unwanted flavors to the yogurt.
- Stirring utensil
While heating the milk it is a good idea to stir it often to keep the milk from scalding. Any stirring utensil will work like a wooden or stainless steel spoon.
- Thermometer
The milk does not need to boil, it just needs to be heated above 72℃ for a short time (15 seconds). Using a thermometer helps you to know when the correct temperature has been reached.
- Warm space to ferment the yogurt
This is where it can get tricky. Thermophilic yogurt needs a steady warm environment to ferment. This is where yogurt makers come in. They are appliances which hold the milk at the correct temperature while it is fermenting but if you don;t have access to a yogurt maker there are several other options.
- The oven with the oven light on
Most electric ovens still use incandescent lights for the oven light. These lights can produce enough heat to keep the oven warm enough to ferment a batch of yogurt. Simply place the jar of fermenting yogurt close to the light and close the door. Leave a sign on the oven to prevent others from preheating the oven and cooking your yogurt.
- A gas oven with a pilot light
Old style gas ovens have a pilot light which remained lit to start the oven when the gas was turned on. If you have access to such an oven the pilot light will produce enough heat to ferment a batch of yogurt. Place the fermenting yogurt close to the pilot light and leave until it is fermented to your liking.
- A cooler with hot water bottles
A cooler can act as a simple fermentation chamber with the addition of some hot water bottles. The water bottles hold lots of heat which can keep the cooler warm for a long time. The danger here is the heat getting too high. To prevent this pre-warm the cooler and only use water a few degrees hotter than you need for fermenting the yogurt.
- A crockpot and bath towels
The outside of a crockpot is insulated to keep the heat focused on the cooking container in the middle. By preheating the container the heat can be maintained long enough for the yogurt to ferment when you add a few layers of bath towels to help insulate the crockpot.
This works the best when you make enough yogurt to fill the crock pot container as the larger mass of the milk contains more heat for longer.
Equipment needed to make vinegar
Vinegar fermentation can be done with a minimum amount of equipment to expensive systems which can produce vast amounts of vinegar in a short period of time (link to methods of making vinegar article). At its core it is a two step process where yeast species use simple sugar found in a liquid to make alcohol which is then converted into vinegar by acetic acid bacteria.
For the home vinegar maker there are basically three methods you can try.
- Convert an alcoholic beverage to vinegar
This is the easiest method of making vinegar and requires the least amount of equipment.

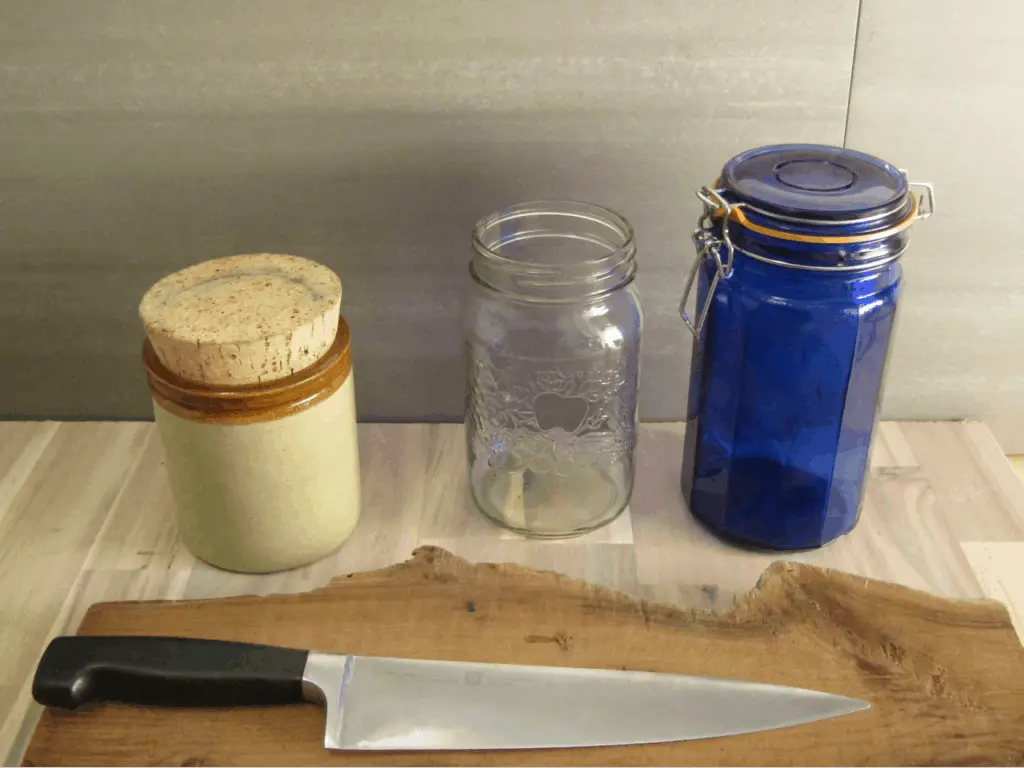
- A nonreactive container like a glass jar or stoneware crock
- An air permeable cover like a cotton cloth or tightly woven cheesecloth
- An elastic band or some other method of securing the cloth on the top of the container.
- Use fresh fruit or other sweet food
You can make vinegar out of almost anything which has fermentable sugars in it. This means you can make any type of fruit vinegar, beet, carrot or any other sweet vegetable. To ensure you have enough fermentable sugars in your vinegar starter read “How to Make Homemade Vinegar Starting with no Alcohol”

To make vinegar this way you will need to add:
- A kitchen knife
- A cutting board
Which you will undoubtedly have in your kitchen already.
If you want to make vinegar from hard sweet vegetables like carrots or beets you will have to juice them first to get the full potential of flavor from the vegetables. Juicers come in a variety of price points from $50-$1000 dollars or more. The main difference is the amount of juice they get out of the fruit or vegetable. The cheap ones eject a watery pulp and only keep a small amount of the juice whereas the more expensive types produce a very dry pulp and produce much more juice.
If you are just starting out making this type of vinegar stick with fruit vinegar as they do not need to be juiced using this method. Once you have made a few batches of vinegar and you want to try other types then keep your eyes open for a good quality juicer as they go on sale regularly.
- Make the alcohol first then convert it into vinegar
This is the most intensive way to make vinegar. It separates the processes of making the alcohol and the acetic acid. This means that you will have to have the equipment for making alcohol as well as the equipment needed to make vinegar.

Equipment you will have to have:
- Larger nonreactive container to use as a primary fermentation vessel
Any large glass jar will work for this. You can use one gallon glass jars pickles come in, plastic containers which are food grade storage containers or large ceramic crocks. Just as long as they are large enough to hold enough liquid to fill the secondary container after the fruit has been removed (if you are using whole fruit).
- A carboy or demi-john for secondary fermentation
This needs to be a large enough container to hold the strained liquid from the primary container. It can be a one gallon glass container which fruit juice comes in or an official demi-john which can be found at any wine or beer making shop.
The important thing about the secondary container is it must have a small opening at the top which will accommodate an airlock to prevent oxygen exchange.
- Some type of air lock
An air lock is a simple device which prevents oxygen from entering the fermentation but allows CO2 to exit. They can be improvised any number of ways:
- A balloon over the opening of the secondary container
- A hose into a glass of water

- A hose used as a water trap
But since airlocks meant for beer and winemaking are so cheap and easy to use this is one piece of equipment which makes sense to purchase. They can be found at your local wine making store or online.
- A hydrometer
This is a tool used to measure the specific gravity of a liquid. It is used mostly in the wine and beer making industries to estimate how much fermentable sugar is in a liquid. To make vinegar you should have an ABV of 5-12%. This tool is used to ensure your fermenting liquid will have an alcohol content within this range.
Once you have fermented your liquid into alcohol use the first way of making vinegar to convert it into vinegar.
Kombucha Fermentation
Kombucha is a very popular drink today. It is sold in stores almost everywhere and is produced by both large and small producers but it is also easily made at home with a minimum amount of equipment.
There are two types of Kombucha making:
- Batch Kombucha
Batch Kombucha is made by fermenting a batch of sweet tea with some Kombucha starter and a SCOBY (although the SCOBY is not required as the starter will make its own). The equipment needed is very minimal.

- A non-reactive container
- A cloth
- An elastic band
- Continuous Kombucha
Continuous Kombucha needs more specialized equipment than batch Kombucha as the setup needs some way of removing finished Kombucha from the bottom of the container while being able to add new sweet tea to the top without disturbing the SCOBY floating on the top.
There are specialized continuous Kombucha kits for sale which include everything you need for making Kombucha this way but if you don’t want to invest in such a system you can improvise with the following things:
- A nonreactive container with a spout on the bottom
use any container used for dispensing drinks from a spout on the bottom. These can be found everywhere and are meant for holding water or punch at parties.
- Some sort of stand to place your container on
Anything will do here just as long as it is waterproof and solid enough to hold the container when it is full of liquid.
- A funnel
The funnel is used to add new sweet tea at the top of the container. Simply slip it into the Kombucha under the SCOBY and pour in the fresh tea so you will not disturb the SCOBY and cause it to sink.
- A cloth rag and elastic band to hold it over the top
The weave needs to be tight enough to prevent any bugs or dust from landing in the container.
Vegetable Fermentation
Vegetable fermentation can be simple or complicated depending on the type of fermentation you are performing. In its basic form vegetable fermentation amounts to stuffing salted vegetables into a jar and leaving it in a cool location until the lactic acid bacteria has soured the vegetables.
To do this safely you will need some specific equipment:
- Non Reactive containers
Again glass jars like mason jars are good for this also vegetable crocks which are specially made for vegetable fermentation are available. These crocks include systems to prevent air from getting in as well as allowing CO2 to escape eliminating the need for the next two items.
Swing top jars like the one pictured below also eliminates the need for the next two items as they are meant to hold some pressure but will release it once it gets too high.
- Some way to weigh the food down under the liquid
This can be anything from a bag full of water, glass beads or more sophisticated equipment like fermentation weights.
- Some way of letting CO2 out of the container while preventing oxygen from entering
This can be accomplished by the above mentioned bag full of water or the more sophisticated mason jar air locks. These can be found at most health food stores or online.
- A scale
The scale is used to determine the correct amount of salt needed to protect the fermentation from mold growth. Mold does not like to grow in salty environments so with the right amount of salt, about 2.5-3% by weight, the growth of mold will be prevented while making a fermentation which is not overly salty.
SourDough Fermentation
Sourdough is one of those fermentations which seems to be very intimidating. There is some belief that it is difficult to make and there is some magic mogo needed to make it work properly.
Sourdough is actually easy to start but takes practice to perform well. It can be started in a week with only:
- A glass mason jar
- A cloth rag
- An elastic band
For more information on how to make a sourdough starter read “How to make a sourdough starter”
Equipment needed to make Natto
Natto is a fermentation which is very poporizing. It has a unique texture and flavor which takes some getting used to. It is known to have a wide variety of health benefits including the presence of nattokinase which helps to break down arterial plaque. Making it is simple but requires some method of incubation which maintains a higher temperature and humidity.
To make natto you will need:
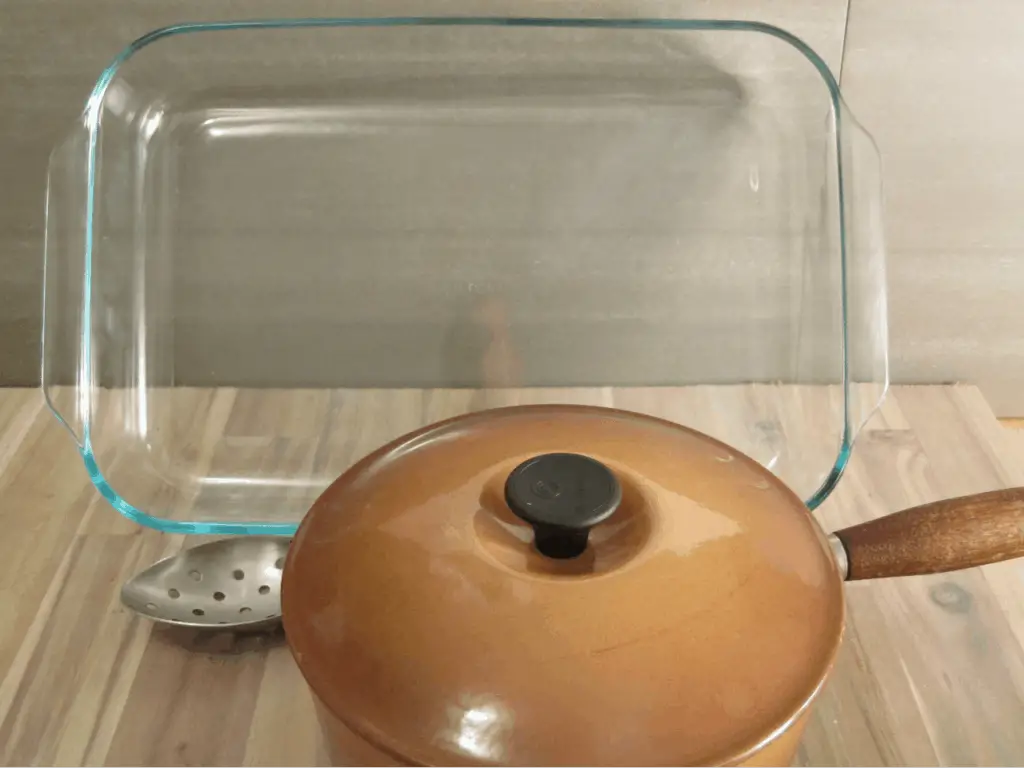
- A glass tray
A glass casserole tray or lasagna pan work well for this just as long as the beans can be spread out to a thickness of about 2 inches.
- A container to soak the beans
The soy beans which are used to make natto are dry and need to be soaked before they are cooked to release some of the beans protective chemicals and to increase the hydration of the beans.
The container needs to be twice the size of the volume of beans you are soaking in it to accommodate the expansion of the beans as they absorb the water.
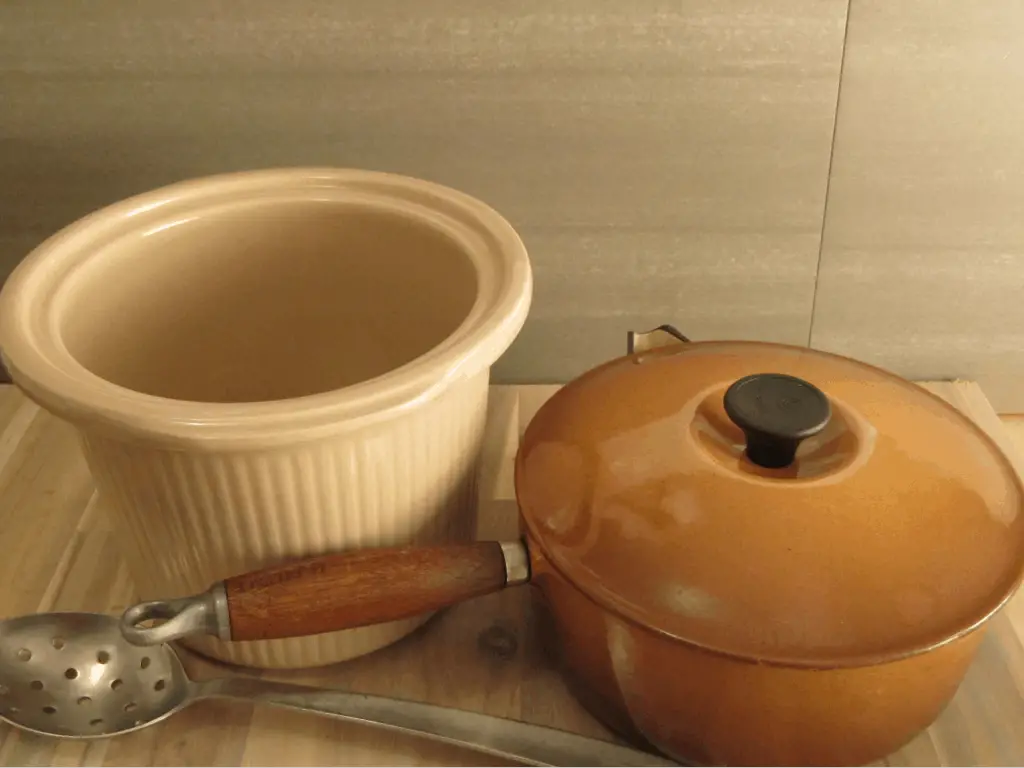
- A pot large enough to cook the beans
The beans need to be cooked until they are soft. This can take up to 5 hours so the pot you use should hold a large amount of water to prevent the beans from boiling dry.
- Plastic to cover the beans while they ferment
Plastic wrap works well for this. You can also use wax paper or a silicone cover. The idea is to keep the beans from drying out by limiting the evaporation of the liquid in the beans.
- An incubation chamber to maintain the temperature for 12-24 hours
There are many ways you can incubate your natto:
- Use a dehydrator
- Use a cooler and hot water bottles
- Build an incubation chamber
- Purchase an incubation chamber
Equipment needed to make Koji
Koji is the basis for a wide variety of fermentations including saki, miso and soy sauce. It is a different type of fermentation which uses a single species of mold Aspergillus oryzae. This mold is the mold which breaks down complex carbohydrates into shorter chain sugars. This is in a controlled environment which requires some special equipment to ensure proper koji production.
- A container to soak the koji base
Koji is made from either rice or barley and both need to be soaked for varying periods of time. The idea is to increase the hydration of the rice or barley to ensure the mold has enough water to grow.
The container should be non reactive and large enough to hold double the volume of the soaked rice or barley.
- A steamer
When making koji you don’t want to saturate the rice of barley by boiling them. Boiling produces a mushy water saturated product which is too soft for the making of koji. Instead a steamer should be used. This will ensure the rice or barley is cooked but still have body and firmness to each of the grains.
Steamers come in a variety of styles from bamboo or wicker steamers to stainless steel versions. You will also need a piece of clean cotton cloth or muslin in the steamer to prevent the contents from leaking down into the water.
- A temperature controlled incubator
All the other methods of fermentation depend on the environment or external forces to maintain a steady temperature but when making koji the koji mold will begin to make its own heat. This makes it difficult to maintain the steady temperature needed to produce good koji.
Insulated boxes or warm locations are not the best for koji growth as they cannot react to the heat the mold produces once it starts to grow quickly so you will need to either make or purchase a temperature controlled incubator which can maintain a steady temperature between 28-34℃.
Equipment needed to make Miso
Miso is a soy based fermentation which uses either rice or barley koji to convert the carbohydrates in the soybeans into simple sugars which the lactic acid bacteria then use to acidify the soybean rice mash. You can either purchase koji online or you can make your own.
Miso is an aged fermentation and therefore needs special equipment to ensure the miso matures correctly and produces a quality miso.
- A large pot to cook the soybeans
The soybeans need to be cooked until they are soft which can take up to five hours so the pot needs to be large enough to hold enough water to not boil dry during cooking. It is best if it is large enough that no water needs to be added during cooking as this can increase the cooking time. A pot with a wide top helps to skim off the scum and soybean skins which float to the top.
- A way to mash the beans and koji into a paste
There are several options here:
- Your fist
For those who want to make only a small amount of miso your fist will work fine. Just mash the beans, salt and koji together until your arm feels like it will fall off.
- A potato masher
This works for small batches of miso where you either can thoroughly mash the beans and rice together or you don’t care if there is the occasional whole bean in your miso. The gaps in the potato masher allow beans to pass through without being crushed so it can take a long time.
- A meat grinder
This is the easiest method. All you need to do is mix the miso ingredients evenly together and run it through the grinder. Once the ingredients have been ground together further mixing is done to ensure the koji, rice and salt are evenly mixed and little or no air pockets exist in the packed miso.
- A food processor
A food processor will make short work of the soybeans and can produce a very smooth paste. The trick is to not add the rice or salt until after the soybeans have been mashed or your miso will have no texture.
- An air-tight aging container to store the miso while it ferments
Miso is an anaerobic lactic acid bacteria fermentation. The salt kills off most of the koji mold which has broken down a lot of the starches in the rice/barley koji. The addition of the koji adds enough enzymes to break down the starches in the beans and rice/barley mix eliminating the need for oxygen.
A container such as a food grade bucket, fermentation crock or glass jar will work just as long as there is a large enough opening to properly pack the miso into it and allow a weight of some form on the top.
- Some form of weight for the top
Once the miso is packed into the container and sealed to prevent oxygen exchange it needs to be weighed down. In traditional miso making the weight was provided by rocks loaded onto the top of the fermentation.
You can use anything which will provide even pressure on the surface of the miso. Most people use a bag of salt which provides even pressure as well as added protection from mold growth.